Revisiting a UnixWare 7.1.1 install on Qemu/KVM

So after nearly 8 years ago from messing around with UnixWare, I wanted to confirm something from a SYSV Unix that has a C compiler that isn’t GCC, and I remembered I have UnixWare 7.1.1 from a long time ago.  Anyways I have long since lost the virtual machine I had installed onto, but I still have media and of course the more important licenses.

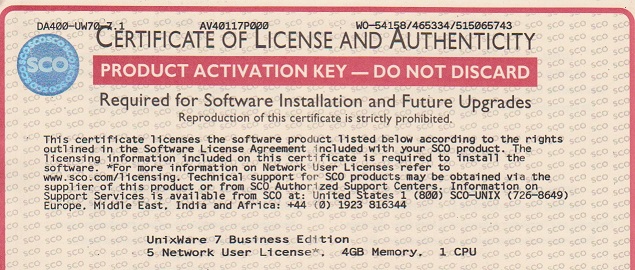
unixware certificate of license and authenticity

UnixWare licenses. the dread of fixing things 20+ years later

Yep it’s the real thing.  So with my certs in hand I do an initial install in Qemu and on reboot the system basically has bricked itself.

WARNING: System is in an unreliable state.

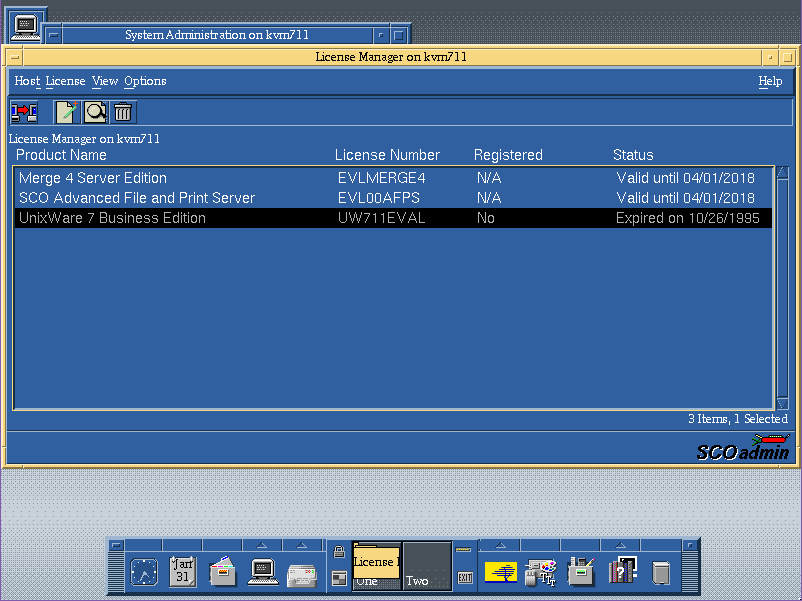
And then looking at the licenses it turns out that my license has expired.  What?

Somehow I got lucky before, but it turns out that the installation process for ancient UnixWare is NOT Y2K compliant!  And this actually turned out to be a known issue.  I can’t find the original article, but a mirror is here: ischo.net

So basically install using an eval license, which will of course expire on install, and then use your actual license after the installation, remove the eval, reboot and all will be well.

License Number: UW711EVAL
License Code: airhorpx
License Data: d60;m7hjbtt

Now isn’t that great.

The OS install license immediately expires.

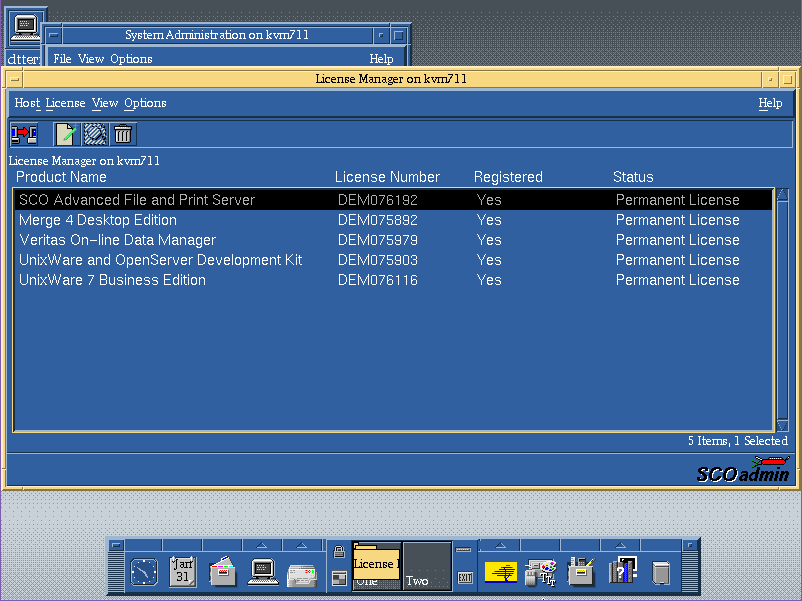
Although you can’t boot up in any real useful state, the networking will kick people off, and it’ll constantly complain that you are in license violation, you can at least bring up the SCO Admin tool, and add in your actual licenses, and then delete the evals.

And now we’re good!

Ok, now for the real fun part, flags and how to run with kvm/qemu.  Since I was loading this onto a server for remote access something like this works fine for me as I’m using the VNC remote console.

qemu-system-x86_64 -enable-kvm -m 1024 -smp 4 -hda UnixWare.vmdk -cpu pentium -net none -monitor telnet::444,server,nowait -curses -vnc 10.12.0.1:11 -cdrom iso/SCO_UnixWare711.iso

So the key things are to restrict the CPU level, and I’ve deferred the network configuration so I can update network drivers, and the OS.  I’ve found that by doing the networking during the install resulted in an OS that crashed with an integer divide by zero after installing the fixpack 5.

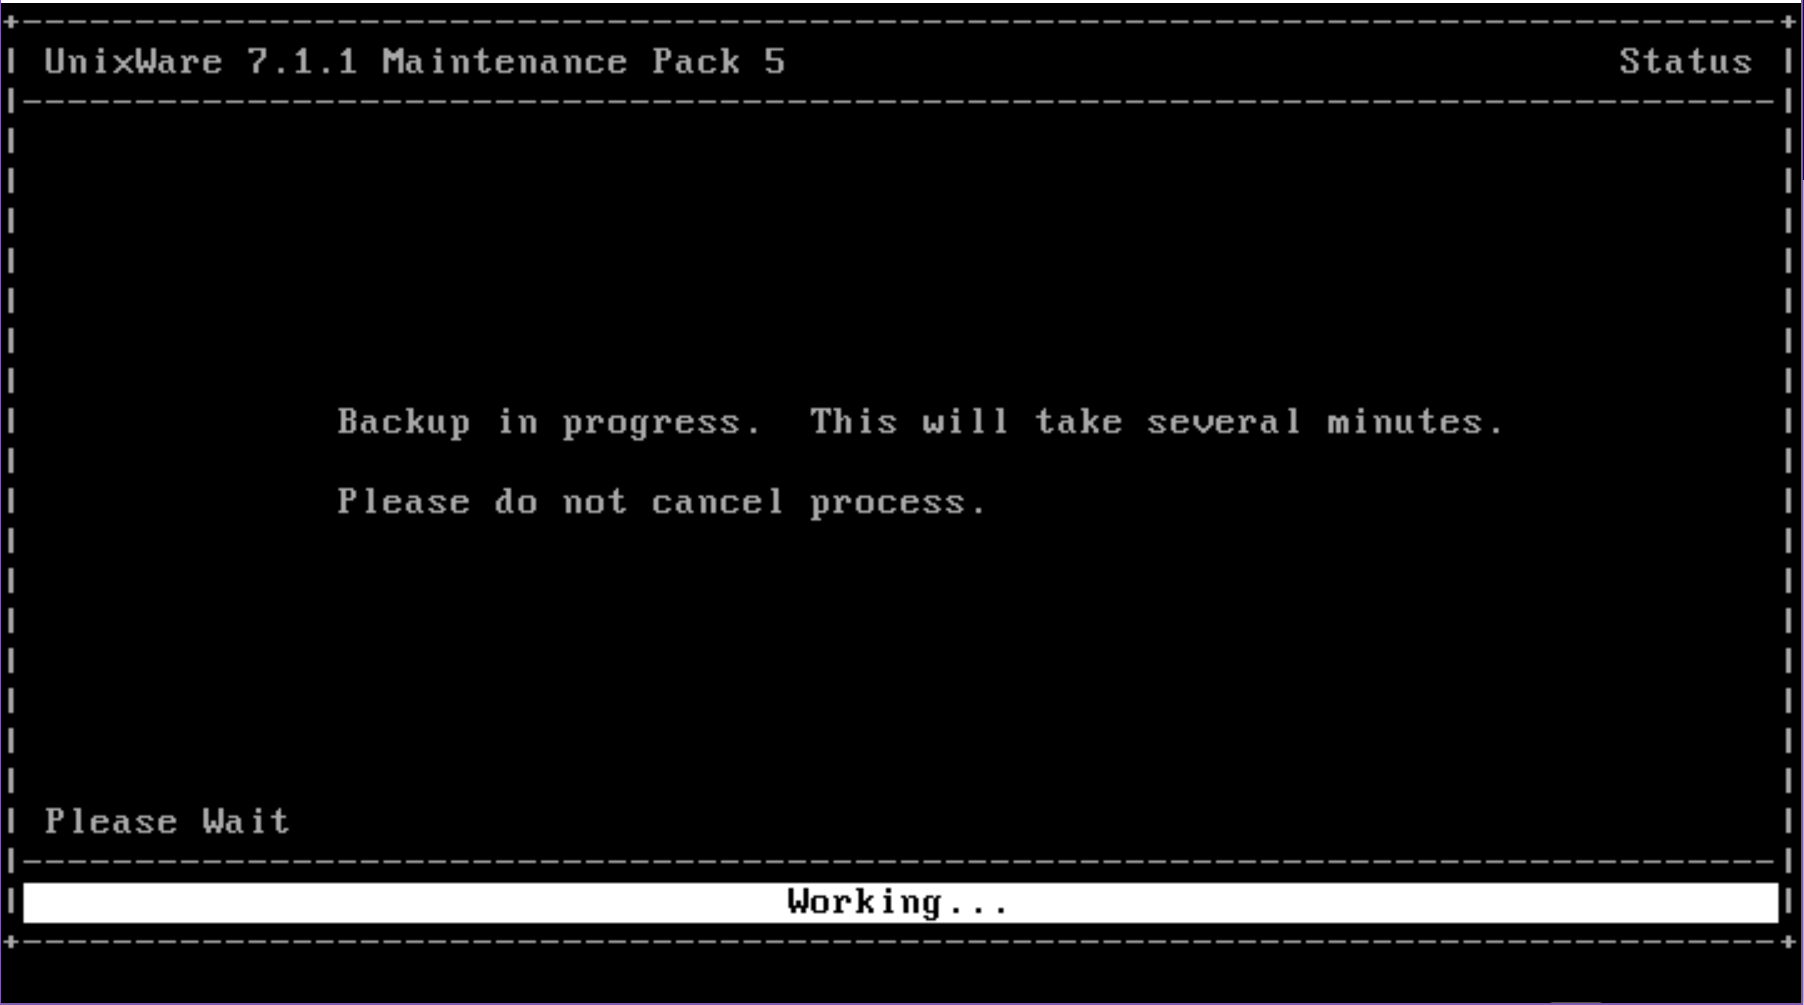
Once you have UnixWare 7.1.1 installed, be sure to install Maintenance Pack 5, which is thankfully still online over at sco.com  I’d also recommend to do this in single user mode, you can enter single user mode by hitting a key during the boot logo and typing in:

INITSTATE=S
boot

And you’ll boot in single user mode, and can install the Maintenance pack with ease.  Until the maintenance pack is installed, expect poor stability, and the system won’t actually listen to the real time clock device, and it’ll accelerate the clock like crazy where I was passing an hour every minute or two.

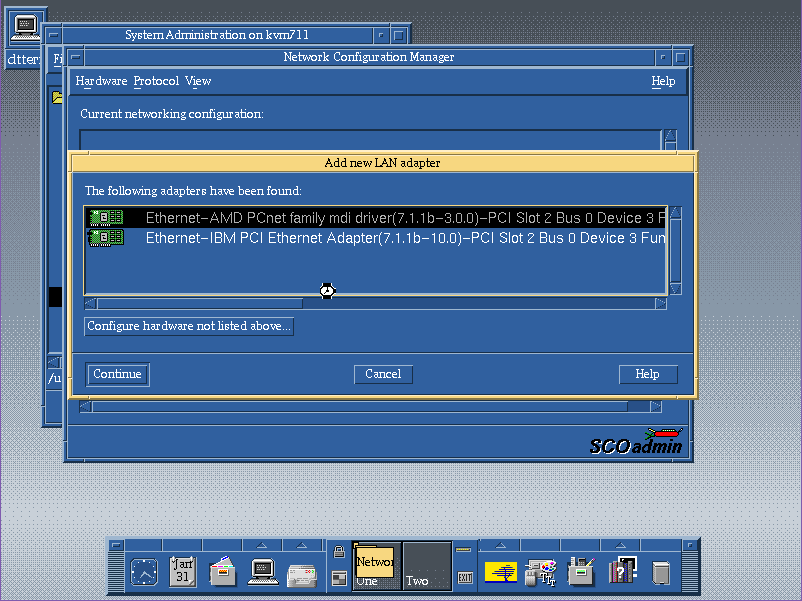
Adding the AMD PCnet on UnixWare

Once the install and update is done, I just added a PCI network card (So older versions of Qemu work well with the ne2k_isa, but newer work much better with the AMD PCNet card.), which is a popular choice for both machines and VM’s of the era.  Although you can use SLiRP the built in NAT for Qemu/KVM alternatively you can also use tun/tap.  I tried to enable SMP, however it has issues binding to the other processors, although it does see them.  And this is better to give full access to the network stack for fun things like FTP, NFS and whatnot.

qemu-system-x86_64 -enable-kvm -m 1024 -smp 4 -hda UnixWare.vmdk -cpu pentium -monitor telnet::444,server,nowait -curses -vnc 10.12.0.1:11 -device pcnet,netdev=net0 -netdev tap,id=net0,ifname=tap10,script=/etc/qemu-ifup

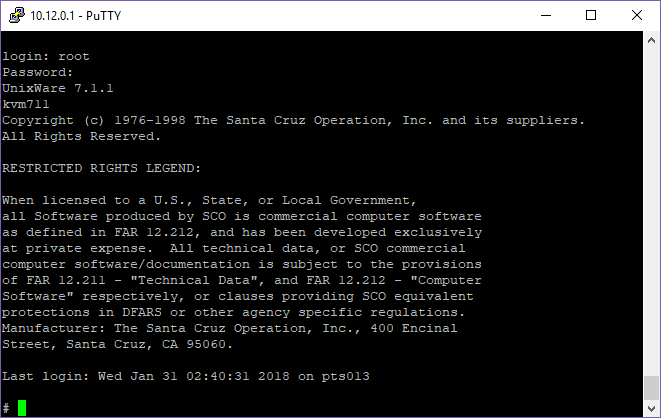
Telnet access

And just like that I can now access the VM.

And for fun…

# uname -a
UnixWare kvm711 5 7.1.1 i386 x86at SCO UNIX_SVR5
# uname -f
architecture=IA32
bus_types=PCI2.10,ISA,PnP1.0
hostname=kvm711.joes.local
hw_provider=Generic AT
hw_serial=DEM076116
kernel_stamp=04/11/11
machine=Pentium
num_cg=1
num_cpu=1
os_base=UNIX_SVR5
os_provider=SCO
release=5
srpc_domain=
sysname=UnixWare
user_limit=5
version=7.1.1

Oh yeah so I don’t forget years from now I’m using the following OS & Qemu version:

# qemu-system-x86_64 -version
QEMU emulator version 2.8.1(Debian 1:2.8+dfsg-6+deb9u3)

# cat /etc/issue
Debian GNU/Linux 9 \n \l

Also I found an eval serial for SMP, but it doesn’t recognize the second processor after the boot.

# psrinfo -v
Status of processor 0 as of 01/31/18 16:40:07
Processor has been on-line since 01/31/18 16:13:57.
The Pentium processor has a i387 floating point processor.
The following conditions exist:
Device drivers are bound to this processor.

I’ll try apparently this as for some reason it doesn’t detect the MP in Qemu/KVM so it never installed the osmp driver.

pkgadd -d cdrom1 osmp

Add the following line to the file /stand/boot:
ACPI=Y

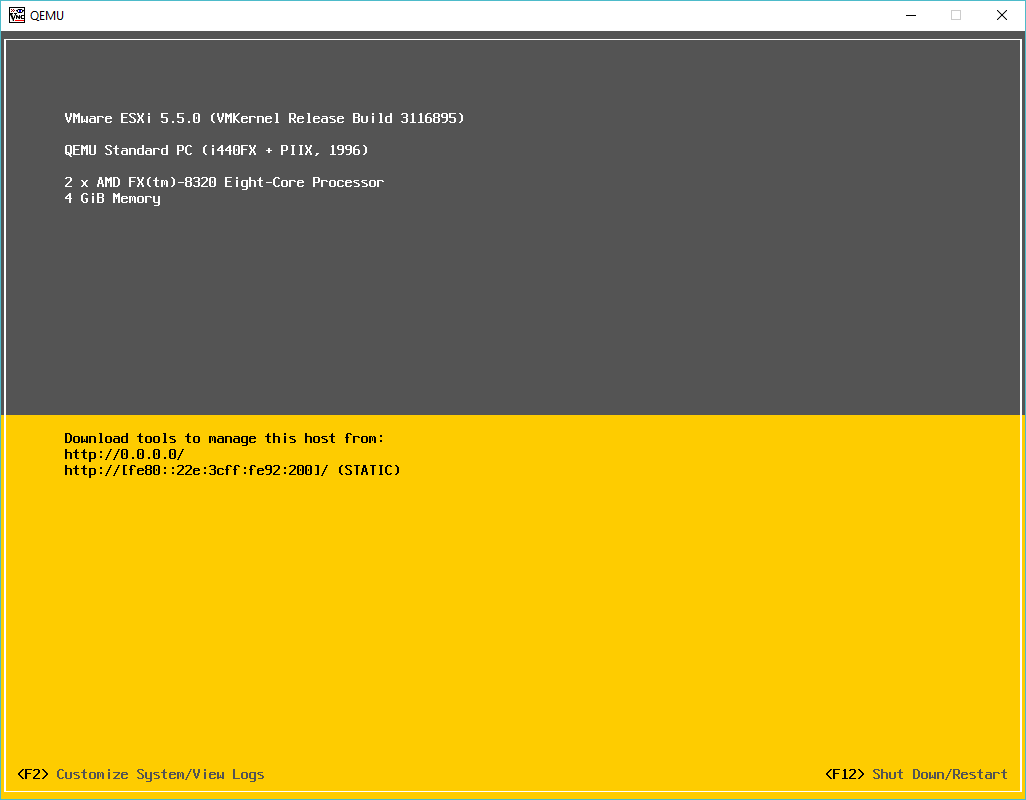
Installing VMware ESXi 5.5.0 Update 3 on KVM

Well I had no luck with the boot process hanging during initialization.  I searched a little, and came across this thread, stating :

The line that says “Running inside a VM; adjusting spinout timeout to 180 seconds” would suggest that KVM implements enough of our backdoor interface to make it look like we’re running under a VMware hypervisor.  When we’re running in this environment, we use the backdoor to get the host TSC frequency.  I suspect that KVM doesn’t implement the “GETMHZ” backdoor call, so we are confused about the TSC frequency.  The 30ms delay turns into … 30 hours?  30 years?

So they had a source code change for QEMU 1.7.0, however it obviously doesn’t work in 2.x.  It was rolled up stream, and then made into a switch to disable with a simple flag to add into the command line.

-machine vmport=off

So with that set I ran the following:

kvm -vnc 0.0.0.0:1 -cpu host \
-machine vmport=off \
-m 4096M \
-smp cpus=2 \
-drive file=esx-1.qcow2,if=ide,index=0,media=disk \
-serial telnet:127.0.0.1:5001,server,nowait \
-monitor tcp:127.0.0.1:6001,server,nowait \
-cdrom /root/VMware-VMvisor-Installer-5.5.0.update03-3116895.x86_64.iso -boot d \
-net none \
-device vmxnet3,mac=00:2e:3c:92:26:00,netdev=esx-0 \
-device vmxnet3,mac=00:2e:3c:92:26:01,netdev=esx-1 \
-device e1000,mac=00:2e:3c:92:26:02,netdev=esx-2 \
-device e1000,mac=00:2e:3c:92:26:03,netdev=esx-3 \
-netdev socket,id=esx-0,udp=127.0.0.1:10000,localaddr=127.0.0.1:20000 \
-netdev socket,id=esx-1,udp=127.0.0.1:10001,localaddr=127.0.0.1:20001 \
-netdev socket,id=esx-2,udp=127.0.0.1:10002,localaddr=127.0.0.1:20002 \
-netdev socket,id=esx-3,udp=127.0.0.1:10003,localaddr=127.0.0.1:20003

And now I can boot up, and install VMWare!

ESXi 5.5.0 on Qemu KVM

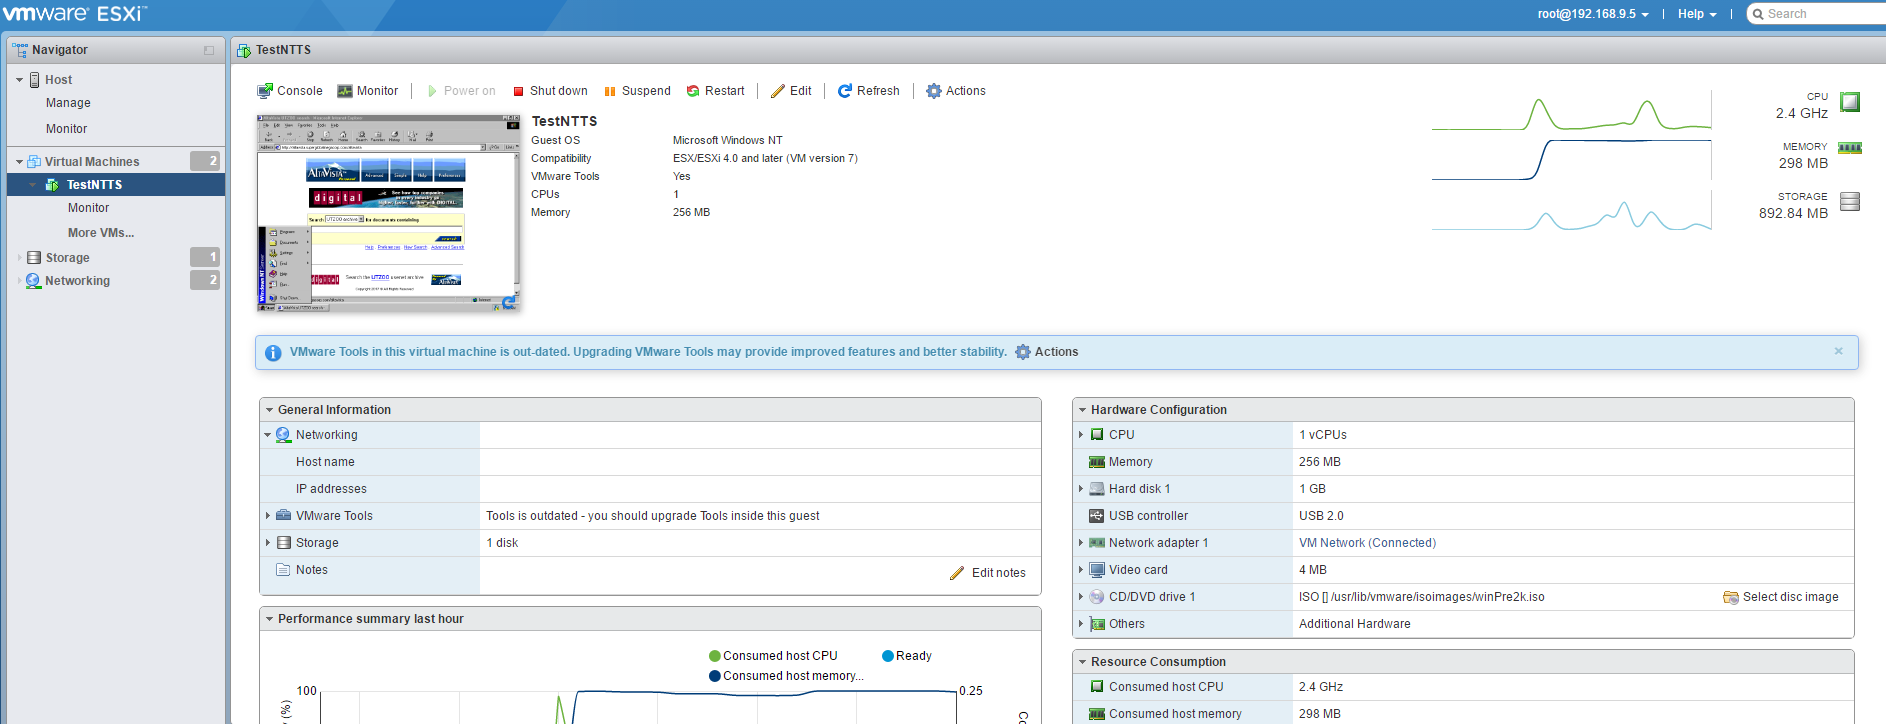
By default you will not be permitted to start any virtual machine.  To get around this you have to enable VMWare to run nested.
Add the following to /etc/vmware/config under ESX:

vmx.allowNested=TRUE

And then you are good to go!

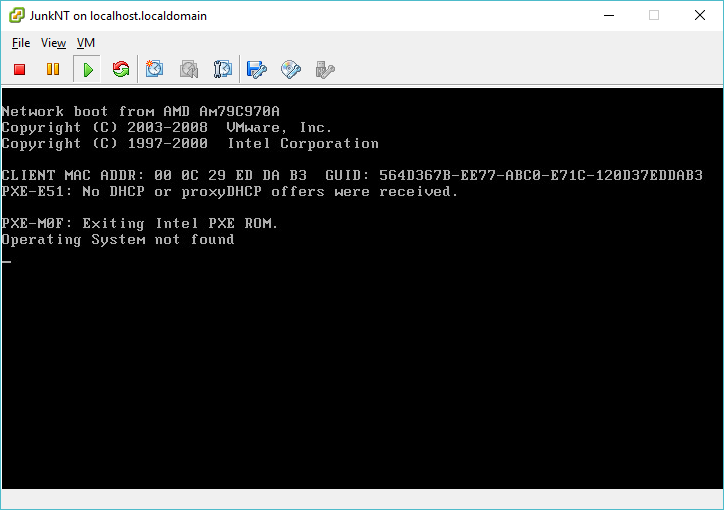
VM running on nested ESXi 5.5.0

Running VMWare ESXi 6.5 under Linux/KVM!

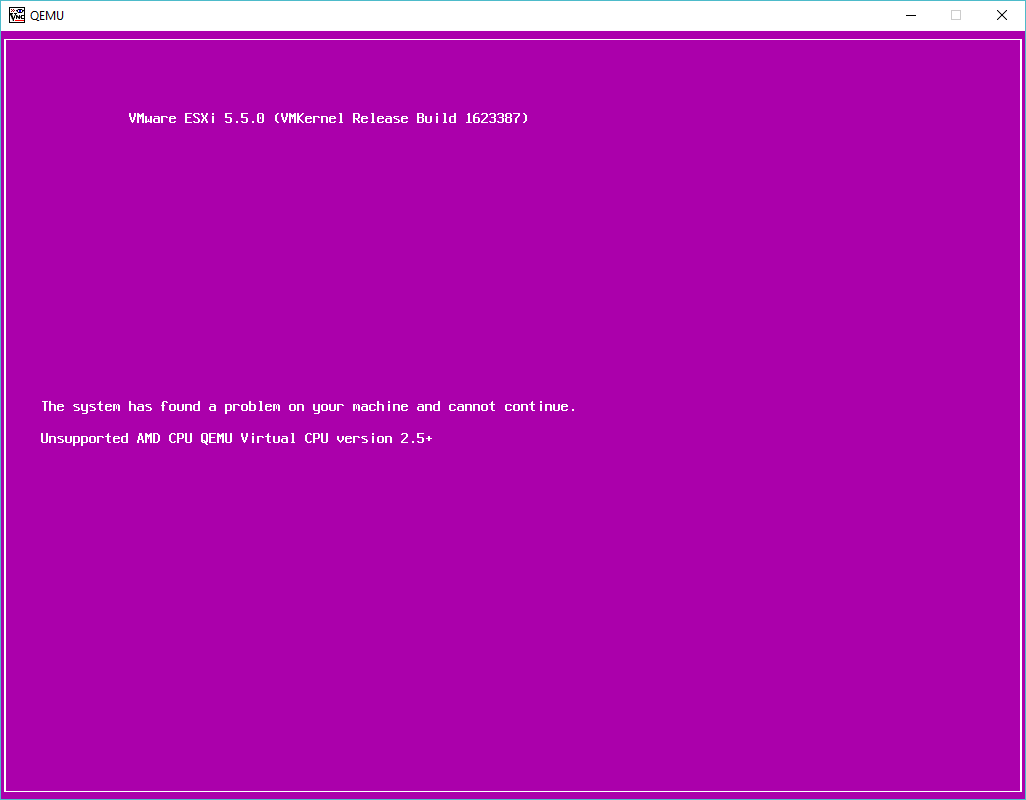
So with VIRL in hand, the next thing I wanted to do was play with some LACP, and VMWare ESX.  Of course the best way to do this is under KVM as you can use UDP to bounce packets around between virtual machines, like the VIRL L2 switch.  I went ahead and fired up 5.5 and got this nice purple screen of death.

Purple screen of death!

So naturally I need to force the processor type.  Also after reading a few sites, I needed to turn on a nested & ignore_msrs settings:

root@ubuntu:/etc/modprobe.d# cat qemu-system-x86.conf

options kvm_amd nested=1
options kvm ignore_msrs=1

Naturally if you are using an Intel processor the statements need to reflect that.  All being well you will see something like this in your log file:

Mar 7 11:34:38 ubuntu kernel: [ 14.802132] kvm: Nested Virtualization enabled
Mar 7 11:34:38 ubuntu kernel: [ 14.802134] kvm: Nested Paging enabled

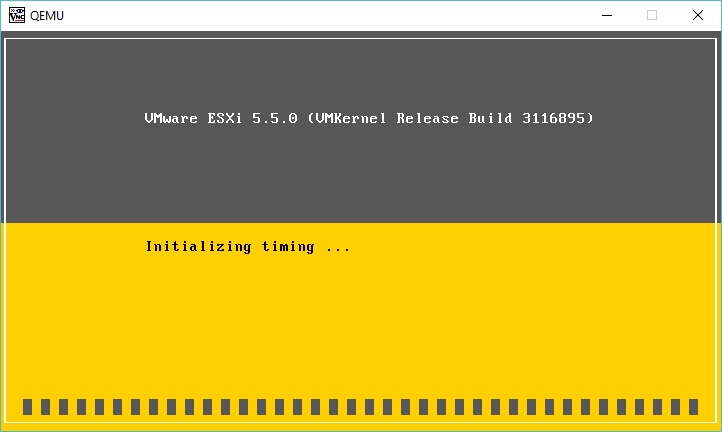
I got a little further trying to install VMWare ESXi 5.5 update 3, however it just hangs on Intitializing timing…

vMWare 5.5.0 update 3 hanging

(I did later solve the 5.5 problem in a follow up here!)

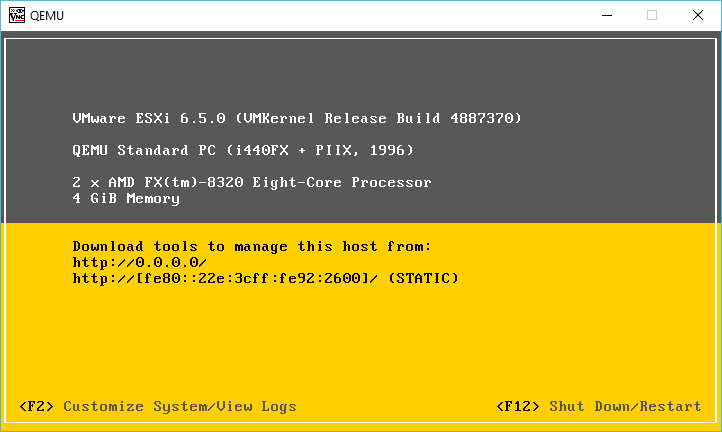
After going nowhere with that, I went ahead and downloaded VMWare ESXi 6.5 which as of today is the latest version, and that installed just fine!

ESXi 6.5.0 running under KVM

For anyone brave or crazy enough to think about reproducing this, here is my install command line (yes Im doing this old school way on purpose)

kvm -vnc 0.0.0.0:1 -cpu host \
-machine pc-i440fx-2.1 \
-m 4096M \
-smp cpus=2 \
-boot order=d \
-drive file=esx-1.qcow2,if=ide,index=0,media=disk \
-serial telnet:127.0.0.1:5001,server,nowait \
-monitor tcp:127.0.0.1:6001,server,nowait \
-net none \
-device vmxnet3,mac=00:2e:3c:92:26:00,netdev=esx-0 \
-device vmxnet3,mac=00:2e:3c:92:26:01,netdev=esx-1 \
-device vmxnet3,mac=00:2e:3c:92:26:02,netdev=esx-2 \
-device vmxnet3,mac=00:2e:3c:92:26:03,netdev=esx-3 \
-netdev socket,id=esx-0,udp=127.0.0.1:10000,localaddr=127.0.0.1:20000 \
-netdev socket,id=esx-1,udp=127.0.0.1:10001,localaddr=127.0.0.1:20001 \
-netdev socket,id=esx-2,udp=127.0.0.1:10002,localaddr=127.0.0.1:20002 \
-netdev socket,id=esx-3,udp=127.0.0.1:10003,localaddr=127.0.0.1:20003 \
-cdrom VMware-VMvisor-Installer-5.5.0.update03-3116895.x86_64.iso \
-boot d

As you can see it really isn’t that involved, well once you get the formatting to make some sense.  And to run it normally I run it something like this:

kvm -vnc 0.0.0.0:1 -cpu host \
-machine pc-i440fx-2.1 \
-m 4096M \
-smp cpus=2 \
-drive file=esx-1.qcow2,if=ide,index=0,media=disk \
-serial telnet:127.0.0.1:5001,server,nowait \
-monitor tcp:127.0.0.1:6001,server,nowait \
-net none \
-device vmxnet3,mac=00:2e:3c:92:26:00,netdev=esx-0 \
-device vmxnet3,mac=00:2e:3c:92:26:01,netdev=esx-1 \
-device vmxnet3,mac=00:2e:3c:92:26:02,netdev=esx-2 \
-device vmxnet3,mac=00:2e:3c:92:26:03,netdev=esx-3 \
-netdev socket,id=esx-0,udp=127.0.0.1:10000,localaddr=127.0.0.1:20000 \
-netdev socket,id=esx-1,udp=127.0.0.1:10001,localaddr=127.0.0.1:20001 \
-netdev socket,id=esx-2,udp=127.0.0.1:10002,localaddr=127.0.0.1:20002 \
-netdev socket,id=esx-3,udp=127.0.0.1:10003,localaddr=127.0.0.1:20003

So it’s basically the same, just no mounted CD-ROM image.  Now this is all fun, but what about networking?  As I had mentioned before, I bought a VIRL license, which includes a l2 Catalyst image, so why not use that, instad of a ‘traditional’ Linux bridge?  Sure!  In this example I’m going to connect the 4 ethernet ports from the ESXi into the first 4 ports on the cisco switch, with the last port connecting to a Linux bridge, that I then route to, as I wanted all my lab crap on a seperate network.  To start the switch I use this script:

kvm \
-m 768M \
-smp cpus=1 \
-boot order=c \
-drive file=vios_l2-adventerprisek9-m.vmdk.SSA.152-4.0.55.E.qcow2,if=ide,index=0,media=disk \
-serial telnet:127.0.0.1:5000,server,nowait \
-monitor tcp:127.0.0.1:51492,server,nowait \
-net none \
-device e1000,mac=00:2e:3c:92:26:00,netdev=gns3-0 \
-device e1000,mac=00:2e:3c:92:26:01,netdev=gns3-1 \
-device e1000,mac=00:2e:3c:92:26:02,netdev=gns3-2 \
-device e1000,mac=00:2e:3c:92:26:03,netdev=gns3-3 \
-device e1000,mac=00:2e:3c:92:26:04 \
-device e1000,mac=00:2e:3c:92:26:05 \
-device e1000,mac=00:2e:3c:92:26:06 \
-device e1000,mac=00:2e:3c:92:26:07 \
-device e1000,mac=00:2e:3c:92:26:08 \
-device e1000,mac=00:2e:3c:92:26:09 \
-device e1000,mac=00:2e:3c:92:26:0a \
-device e1000,mac=00:2e:3c:92:26:0b,netdev=gns3-tap \
-netdev socket,id=gns3-0,udp=127.0.0.1:20000,localaddr=127.0.0.1:10000 \
-netdev socket,id=gns3-1,udp=127.0.0.1:20001,localaddr=127.0.0.1:10001 \
-netdev socket,id=gns3-2,udp=127.0.0.1:20002,localaddr=127.0.0.1:10002 \
-netdev socket,id=gns3-3,udp=127.0.0.1:20003,localaddr=127.0.0.1:10003 \
-netdev tap,id=gns3-tap,ifname=tap0,script=/etc/qemu-ifup \
-nographic

Now as you can see the udp sockets are inverse of eachother, meaning that the ESX listens on 10000 and sends to 127.0.0.1 on port 20000, while the switch listesns on 20000, and sends packets to 10000 for the first ethernet interface pair.

By default VMware only assigns the first NIC into the first virtual switch, so after enabling CDP, we can see we have basic connecitivity:

AMD-kvm#sho run int gig0/1
Building configuration…

Current configuration : 99 bytes
!
interface GigabitEthernet0/1
media-type rj45
speed 1000
duplex full
no negotiation auto
end

AMD-kvm#show cdp neigh
Capability Codes: R – Router, T – Trans Bridge, B – Source Route Bridge
S – Switch, H – Host, I – IGMP, r – Repeater, P – Phone,
D – Remote, C – CVTA, M – Two-port Mac Relay

Device ID Local Intrfce Holdtme Capability Platform Port ID
KVMESX-1 Gig 0/0 155 S VMware ES vmnic0

Total cdp entries displayed : 1

And of course the networking actually does work… I created a quick VM, and yep, It’s online!

AMD-kvm#show mac address-table
Mac Address Table
——————————————-

Vlan Mac Address Type Ports
—- ———– ——– —–
1 000c.2962.09e5 DYNAMIC Gi0/0
1 002e.3c92.2600 DYNAMIC Gi0/0
1 76b0.3336.34b3 DYNAMIC Gi2/3
Total Mac Addresses for this criterion: 3

And of course some obliguttory pictures:

Nested ESXi running a simple NT 4.0 server

And:

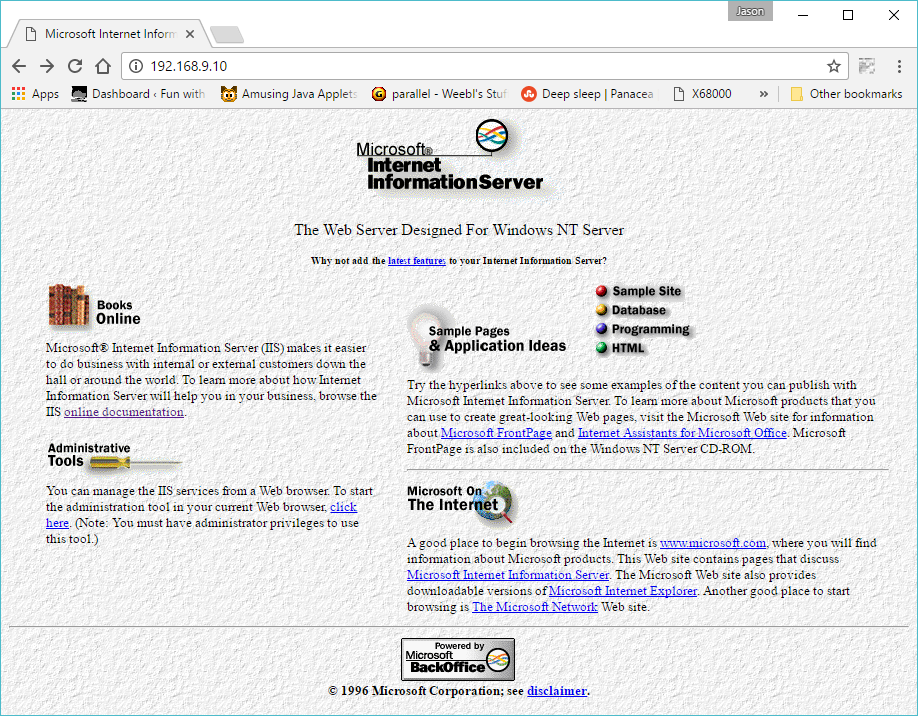
Welcome to IIS 2.0

With ip forwarding turned on my Ubuntu server, and an ip address assigned to my bridge interface, I can then access the NT 4.0 VM from my laptop directly.

Nex’t time to make the L2 more complicated, and add in some L3 insanity…

Getting started with cisco VIRL L2 virtual Ethernet switches

Well for the longest time there was no generally available way to emulate a cisco L2 switch. right before Dynamips was abandoned, in 0.28RC1, there was actually some work on the the Catalyst 6000 Supervisor 1 line card, although no interfaces are supported, and it was largely seen as impossible at the time.

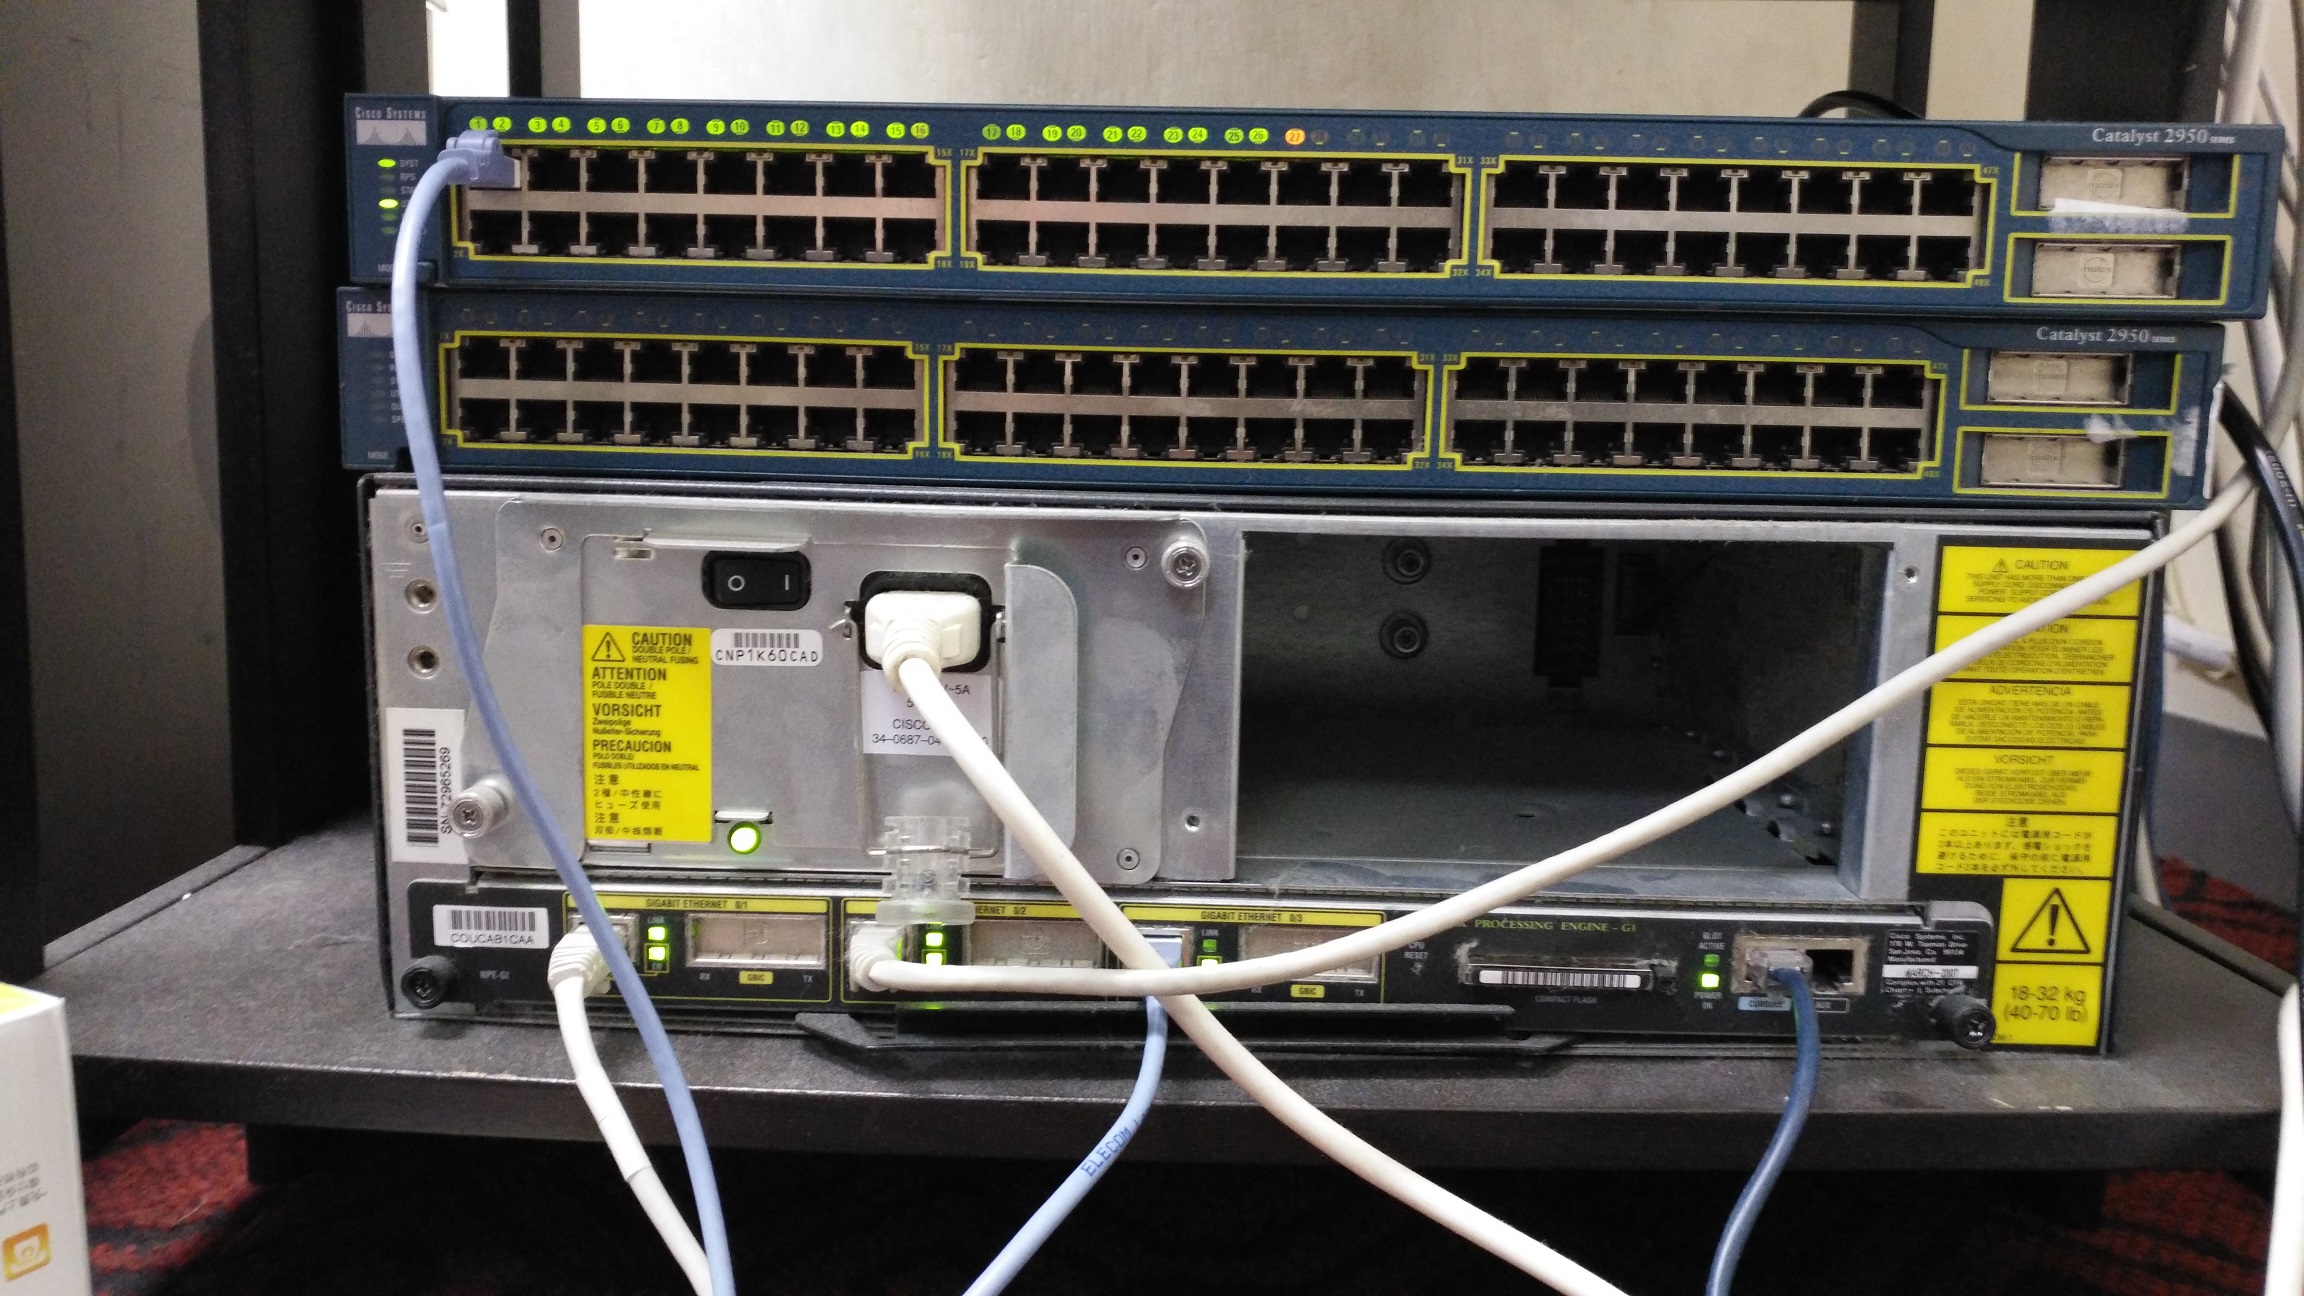
While there may have been leaks of the internal IOU or IOS on UNIX, these are even more dubious than buying your own cisco 7200 and running that IOS on Dynamips.  Indeed in the old days you’d no doubt find people with home labs that look something like this:

My sad lab.

So yeah, I know it’s not new but it was new to me.  But yes, VIRL is something us mere mortals can buy without a CCIE on hand, or a multi-million dollar contract on hand.  Although it isn’t free, but compared to everything else cisco sells it’s cheap…

So VIRL comes in a few different flavors.  They do have an ISO to run on bare metal x86 machines, OVAs for deployment on VMWare Workstation, and ESXi (Although for player you’ll have to get VIX and the vmnet config util from workstation, as I went through here & here).

Although that’s not so much what I’m interested in.  As always I’m more interested in something that lets me run it on my own.

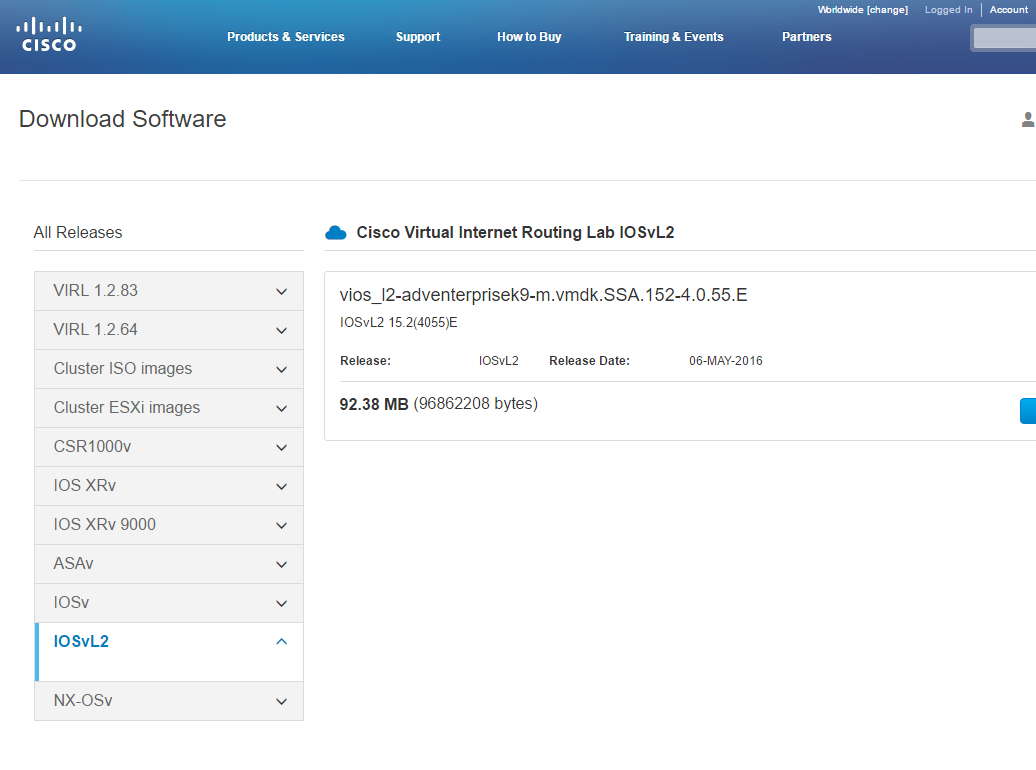
Downloading the l2 image

So as of today, the latest file is vios_l2-adventerprisek9-m.vmdk.SSA.152-4.0.55.E, with the MD5 checksum of 1a3a21f5697cae64bb930895b986d71e.

So as a first test, you can run the L2 image with Qemu/KVM!  I found it works better renaming vios_l2-adventerprisek9-m.vmdk.SSA.152-4.0.55.E to vios_l2-adventerprisek9-m.vmdk.SSA.152-4.0.55.E.vmdk otherwise there was some issues with Qemu picking up the image.

The command line for a switch can be a little crazy so it’ll break some of it up onto separate lines.  This way you can see that I bound a few interfaces to listen on UDP, while most of them are unbound, but you get the idea.  Naturally it being a cisco product, it drives with a serial console.

qemu-system-i386w.exe
-m 768M
-smp cpus=1
-boot order=c
-drive file=vios_l2-adventerprisek9-m.vmdk.SSA.152-4.0.55.E.vmdk,if=ide,index=0,media=disk
-serial telnet:127.0.0.1:5000,server,nowait
-monitor tcp:127.0.0.1:51492,server,nowait
-net none -device e1000,mac=00:2e:3c:92:26:00
-device e1000,mac=00:2e:3c:92:26:01,netdev=gns3-1
-netdev socket,id=gns3-1,udp=127.0.0.1:10003,localaddr=127.0.0.1:10002
-device e1000,mac=00:2e:3c:92:26:02
-device e1000,mac=00:2e:3c:92:26:03
-device e1000,mac=00:2e:3c:92:26:04
-device e1000,mac=00:2e:3c:92:26:05,netdev=gns3-5
-netdev socket,id=gns3-5,udp=127.0.0.1:10000,localaddr=127.0.0.1:10001
-device e1000,mac=00:2e:3c:92:26:06 -device e1000,mac=00:2e:3c:92:26:07
-device e1000,mac=00:2e:3c:92:26:08 -device e1000,mac=00:2e:3c:92:26:09
-device e1000,mac=00:2e:3c:92:26:0a -device e1000,mac=00:2e:3c:92:26:0b
-nographic

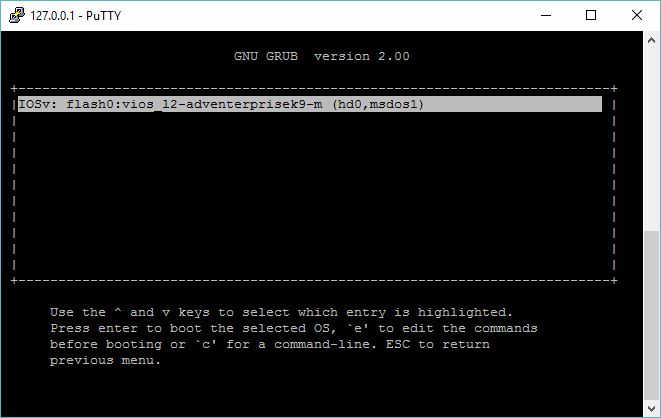
In some ways, this is very much like running Solaris on QEMU via a serial console.  Once booted up, if you grab the console you’ll see:

l2’s grub console

Now, while I think it’s interesting to play with, but I know many people don’t like to setup and run a dozen programs manually, so how do we get this to run under GNS3!

As of right now the current version is 1.5.3, so let’s step through this real quick

Version 1.5.3

First when you fire it up (by default) you’ll get the option to specify using a local server

use local server

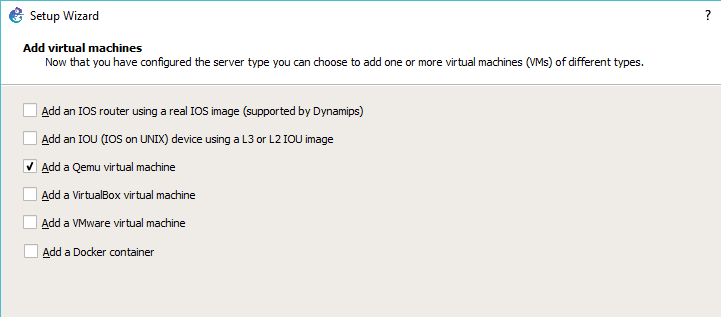
Next you will want to check the box to add a Qemu VM

Add a Qemu VM

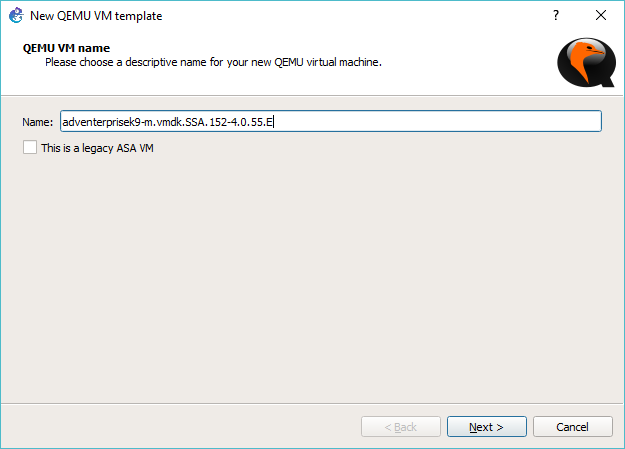
give it a name like adventerprisek9-m.vmdk.SSA.152-4.0.55.E… Or anything else you wish to call it.

give it a name

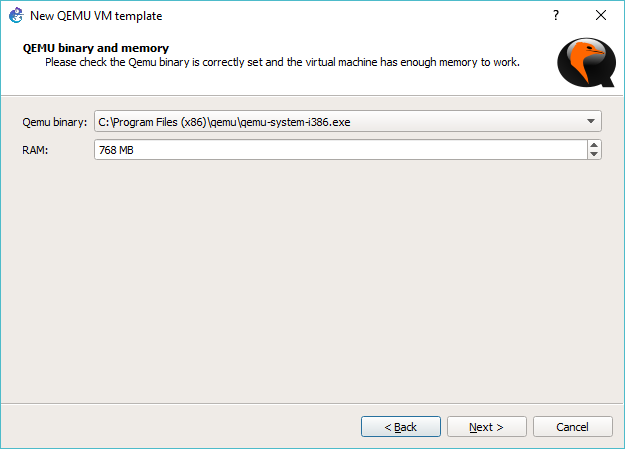
Next I set the emulator to qemu-system-i386.exe and give it 768MB of RAM.

set the Qemu emulator & RAM

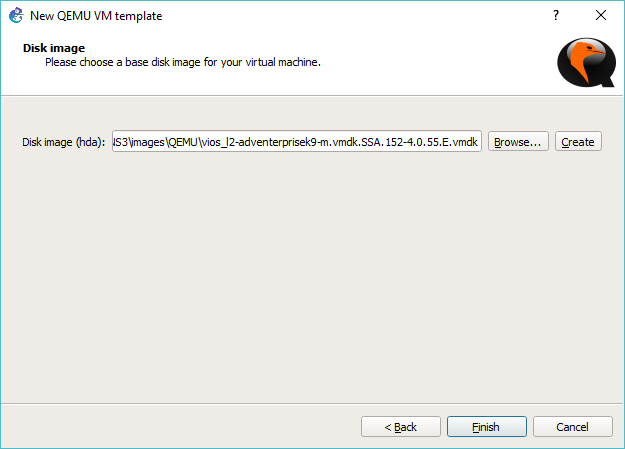
hit next, and then it’ll prompt to select a disk image.  In this example, remember I had renamed the downloaded VIRL image to have a VMDK extension.

select the image

Then GNS3 will prompt to add it to the default images directory

add it to the images directory

After that the wizard is complete.

Then finish

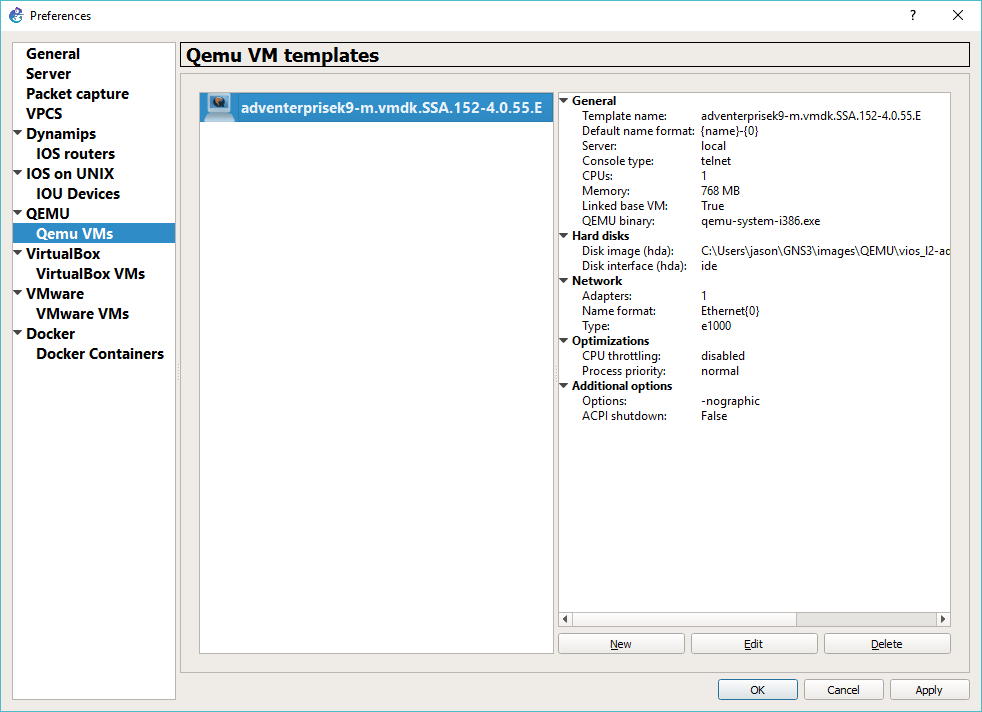
However there is still a bunch of settings that still need to change.  If you don’t make these changes you’ll have a switch with a single Ethernet port, and you will only be able to deploy a single switch, so that won’t be any fun!.

Once the wizard has finished you’ll be in the Preferences.  Just hit edit, on the template we just added, or otherwise it’s under Edit->Preferences.

Hit edit

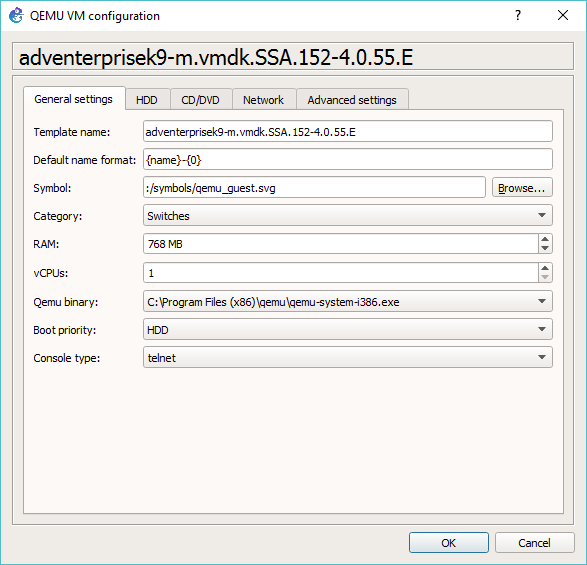
First thing is kind of cosmetic, but go ahead and set the Category to Switches, so that way it ‘flows’ nice in the UI.

set category

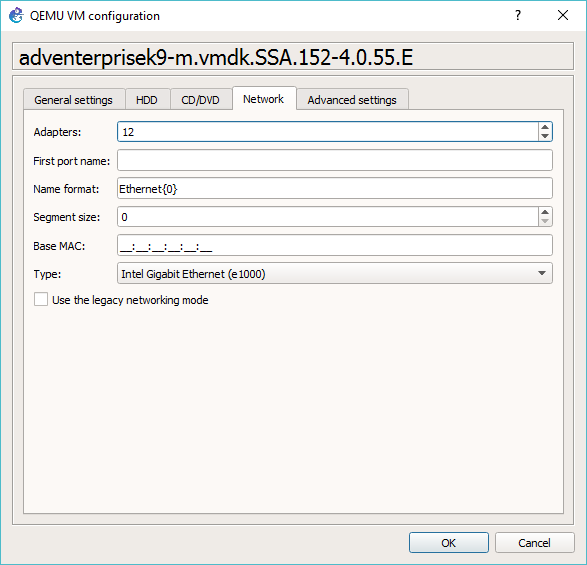
Next hit the Network tab, and then add some adapters.

set the adapters to something more usable like 12

I’ve set the switch to 12 adapters.  The default of 1 isn’t too useful.  Next up hit the Advanced settings tab.  Be sure to un-check the ‘Use as a linked base VM’ . This will let you deploy multiple copies.  On Windows there is some weird issue where changes are seemingly not saved, so be sure to have a config backup strategy beyond saving the config locally.

uncheck the Use as linked base VM

Great, hit OK, and now we’ve got our L2 template for GNS3!

As a bonus, I put it on Linux, and it’ll run under KVM, however if you use the cisco downloaded files, you’ll see this error while booting:

-Traceback= 1DBB7C8z 8DBFE5z 90522Ez 904F50z 904D5Dz 900F45z 901B7Bz 901B0Fz 8D7C0Dz 8D7B0Dz 887061z 8BAE73z 8B9FD7z 8B7827z 8BCCC4z 8C0587z – Process “Async write process”, CPU hog, PC 0x008D7D62

Over and over, and it’ll be generally slow.  For some reason KVM/Qemu on Linux is struggling with the VMDK.  So the solution is to simply convert it from a VMWare VMDK into a Qcow2 image with:

qemu-img convert -f vmdk -O qcow2 vios_l2-adventerprisek9-m.vmdk.SSA.152-4.0.55.E.vmdk  vios_l2-adventerprisek9-m.vmdk.SSA.152-4.0.55.E.qcow2

Now using the qcow2 file, the switch will boot up just fine!

For any reference I’m running Ubuntu 16.10

and the KVM version is:

# kvm –version

QEMU emulator version 2.6.1 (Debian 1:2.6.1+dfsg-0ubuntu5.3), Copyright (c) 2003-2008 Fabrice Bellard

Windows NT 3.1 & KVM

No go.

No go.

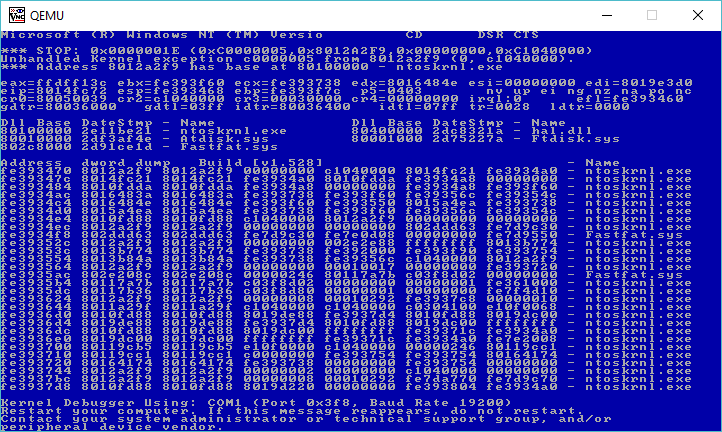
I don’t know what I was expecting, but I thought I’d try to install Windows NT 3.1 Advanced Server in a KVM virtual machine.  No doubt the processor is just too new.  The -cpu 486 / -cpu pentium flags didn’t help things out at all.  However using Qemu has it running just fine.

I also had this crazy idea that haproxy could front HTTP 1.1 requests into serweb so I could go back to having a Windows NT 3.1 web server.  Naturally that didn’t work.

502 Bad Gateway

The server returned an invalid or incomplete response.

Oh well.

The useless update, is that I managed to get Apache 1.3.4 to compile and run on Windows NT 3.1!

Apache 1.3.4 on Windows NT 3.1

All aboard the VENOM hype train!

So here we go, another time for another major security threat, and this time it’s the “VIRTUALIZED ENVIRONMENT NEGLECTED OPERATIONS MANIPULATION” aka VENOM attack.  Yes it has a website, and even a logo! (Creative Commons Attribution-ShareAlike 4.0 International License)

Look at me!

Look at me!

So what is all the fuss about?  Well if you can compromise a Xen, or KVM (and QEMU) VM to run code that bangs against the floppy controller it can have a buffer overflow exploit.

fantastic.

But, I know what you are thinking, most people who KVM use guest OSs that either don’t have floppy drivers, or even explicitly disable the floppy controller.  And from the site:

an unrelated bug causes the vulnerable FDC code to remain active and exploitable by attackers.

Oops.

But let’s calm down, first the attacker has to get root level on the VM before they can think about doing anything.  Of course this is a BIG problem for VM resellers.  Hopefully the patches will be available quickly, and they will be moderately disruptive, especially for those of us who still use virtual floppies.

The source patch has been released on the Qemu mailing list right here.

Installing Debian 7 in KVM via the CLI (text mode)

So with my new disk, and my server back online, I went ahead and re-installed my web server VM, and the newer install from the netcd is graphical of all things.

xx

Debian’s graphical installer

Ugh.

If anyone cares, here is how I do this, the old cli way. I don’t like weird manager things, I’m capable of hitting flags myself:

kvm -m 640 -nographic -curses -hda blog.vmdk -cdrom /install/debian-7.8.0-i386-netinst.iso -boot d -vnc 10.12.0.1:23 -net nic,vlan=0,macaddr=52:54:00:11:11:23 -net tap,vlan=0,ifname=tap0,script=/etc/qemu-ifup

very simple, right?

So the ‘solution’ to this is quite simple hit escape a few times, and the screen will repaint, and you should get the grub boot prompt

gr

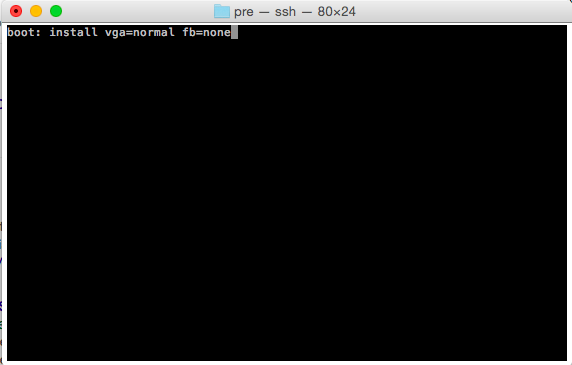
The text mode grub loader

So simply type in:

install vga=normal fb=none

And hit enter, and you should now be good to go!

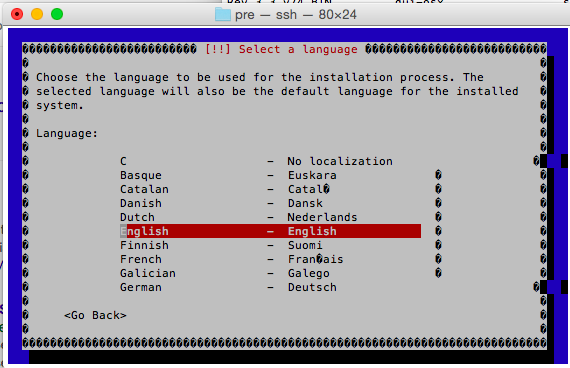
Debian text mode installer

Debian text mode installer

I guess I can go over some quick guide to setting up the tun/tap bridging.  This section is to be added to /etc/network/interfaces

iface br0 inet static
address 10.12.0.1
netmask 255.255.255.0
network 10.12.0.0
broadcase 10.12.0.255
bridge_fd 9
bridge_hello 2
bridge_maxage 12
bridge_stp off
pre-up brctl addbr br0
post-down brctl delbr br0

And the qemu-ifup script:

# cat /etc/qemu-ifup
#!/bin/sh

echo “Executing /etc/qemu-ifup”
echo “Bringing up $1 for bridged mode…”
sudo /sbin/ifconfig $1 0.0.0.0 promisc up
echo “Adding $1 to br0…”
sudo /sbin/brctl addif br0 $1
sleep 2

thats about it.  Debian 8, was just released, and I suspect all of this will have changed.

OS/2 and KVM don’t mix.

After I was able to run OS/2 2.11 on VMware with PCI drivers, I thought I’d try KVM.

KVM internal error. Suberror: 1 emulation failure EAX=00000720 EBX=00000050 ECX=fee10050 EDX=00400780 ESI=d02f004c EDI=ff3f0000 EBP=00000d88 ESP=00000d72 EIP=00006725 EFL=00013202 [-------] CPL=3 II=0 A20=1 SMM=0 HLT=0 ES =0047 00080000 00000f9f 0010f300 DPL=3 DS16 [-WA] CS =d517 1aa20000 0000672d 0000ff00 DPL=3 CS16 [CRA] SS =0017 00020000 00000fff 0000f300 DPL=3 DS16 [-WA] DS =bfcf 17f90000 0000033d 0000f300 DPL=3 DS16 [-WA] FS =0000 00000000 ffffffff 00000000 GS =bfff 17ff0000 00000fff 0000f300 DPL=3 DS16 [-WA] LDT=0028 7be57000 0000ffff 00008200 DPL=0 LDT TR =0010 ffe1f6e7 00000067 00008b00 DPL=0 TSS32-busy GDT=     7c7e5000 00001fff IDT=     ffe201e0 000003ff CR0=8001001b CR2=00080000 CR3=001b3000 CR4=00000000 DR0=0000000000000000 DR1=0000000000000000 DR2=0000000000000000 DR3=0000000000000000 DR6=00000000ffff0ff0 DR7=0000000000000400 EFER=0000000000000000 Code=ca 76 0f 8b ca eb 0b 03 7e 22 8b ca 3b cb 76 02 8b cb 2b d1 <f3> ab 0b d2 75 ed 2b c0 c3 00 00 00 00 00 00 00 00 00 00 00 00 00 00 00 00 00 00 00 00 00

OS/2 2.11 crashing on KVM


No go.  Also Qemu 2.1.2 on Linux didn’t fare much better.  Must be something about HPFS and raw disk images.  The funny thing is that even once a disk became corrupted, I quit Qemu, restore the disk, and start again, and it’s still behaving like it’s corrupt.  Qemu 0.15.X has been the most stable branch I’ve found to run OS/2, but it’s so obsolete now.

Qemu vs KVM with Novell Netware 3.12

So I received an interesting tip, talking about the latest Qemu version, when it was mentioned that it isn’t the hardware that is at fault with Netware not running, but rather something in the emulated CPU.

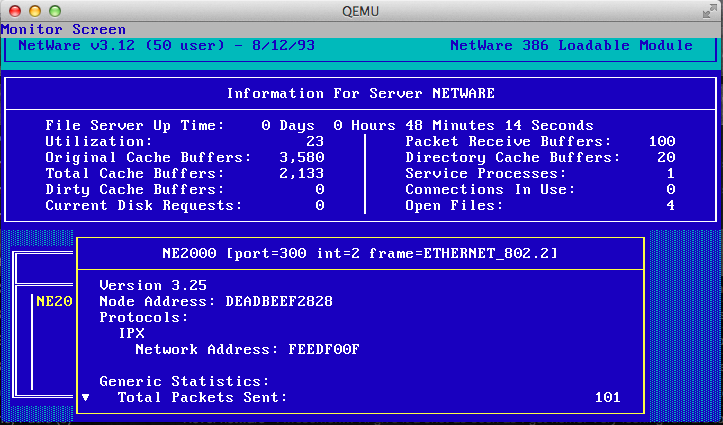
Because, get this, Novell Netware runs in KVM.

Novell Netware 3.12

Novell Netware 3.12

I was taken back, all this time I thought it was something in the -M isapc definition that broke, but it’s the CPU!  I even rebuilt Qemu with the TCG interpreter, and it too breaks.  I even went one more crazy step, and installed with the ancient isadisk controller, and NE2000 on the ISA bus, and it works!

So for now my old copy of Netware I bought a million years ago lives in the cloud!

Some random updates

First I just found out about the KVM Forum 2013, taking place in Edinburgh, Scotland.

You can find all kinds of information and videos of the presentation on the G+ page!

This is an incredible resource for anyone thinking of deploying KVM (Proxmox/VE!) in a serious setting.  Unlike VMWare ESX this is a free solution with no insane license restrictions.  Not to mention that KVM+Qemu is far more flexible than any traditional x86 focused hypervisor will ever be.  And poor Microsoft still doesn’t yet offer x86_64 solution.

I also got a ping back from Linux Lifestyle, about a challenge to find an ancient version of Linux.  Although the real credit goes to the excellent preservation work of oldlinux.org .

Personal note, I got the flu (again!) and have been sick.. which is why the lag in the network stuff, but I’ll bang more on it tomorrow.  I’ll finally get to adding remote sites, routing protocols, and all that fun stuff.  Internet/NAT/Firewalls afterwards.  ASA stuff too, as much as I don’t like them.