
(this is a guest post from Tenox)
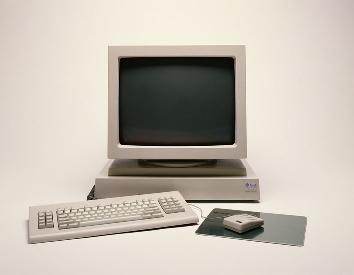
In the previous article I explained how I got hooked up on Atari UNIX and brief efforts in the hardware department. TL;DR I got stuck on lack of a specialized Atari high resolution 1280—960 CRT monitor, which operates using ECL rather than VGA signaling.
So what is ECL signal? Without going to too much in to the details ECL is a differential signal much like LVD SCSI. These are basically more interference resistant and therefore allow higher bandwidths.
ECL signaling was used for high resolution monochrome monitors for Sun, SGI, DEC, HP, NeXT, etc. before VGA got it’s high resolution modes via VESA extensions.
During the research phase I came across a device made by Extron, which basically converts ECL to VGA signal. These were made to allow SUN/SGI/HP/NeXT workstations to be hooked up to a VGA projector.

Despite hours spent attempting to get these working by myself and other Atari users alike, this just didn’t work.
At this time the only viable approach would be to make such adapter from scratch and specifically for the Atari TT. I have rather limited experience in electronic circuit design. I was not the first to come up with such an idea. Over last 20 years or so adapters like that were made and tried before by much more experienced people, but still with rather crappy results. It was obvious I needed a professional help. Fortunately for last several years I have been living in the Silicon Valley, which is abundant with required skills.
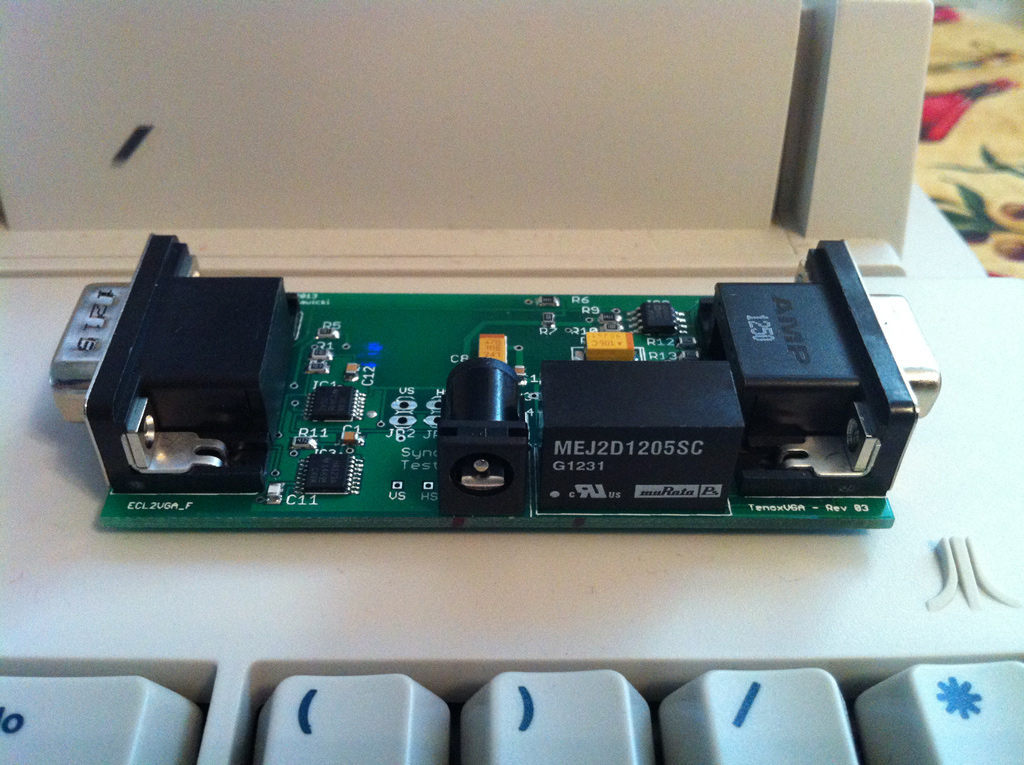
I have found a helpful company with an extensive expertise in video signal processing, described the problem, they understood, gave me a reasonable quote, I delivered my Atari computer and waited patiently. After a few weeks I’ve got an email that I can come in ad see a preliminary results. They have made this device:
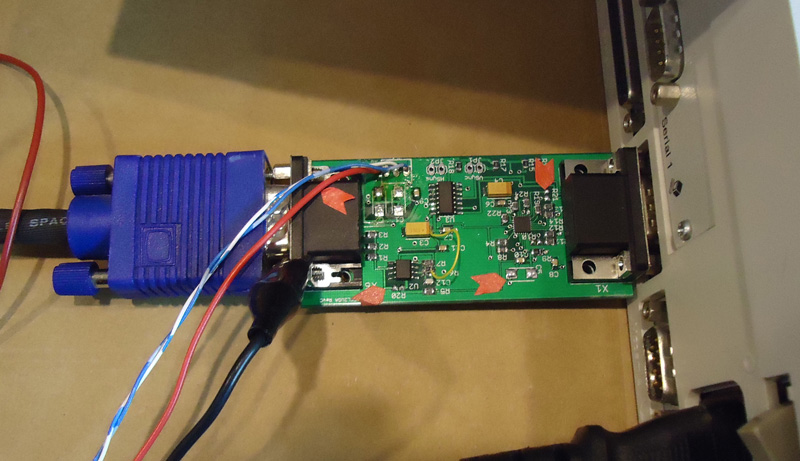
And Atari TT was operating in the monochrome 1280-960 mode on an LCD panel! Well nearly there
The signal was shifted a little bit, and the board was operating from a lab bench power supply. Not a big deal. After a few days they have added a small bread board with a circuit to shift the horizontal sync and a voltage converter to obtain -5V needed for ECL components. Everything was just perfect.
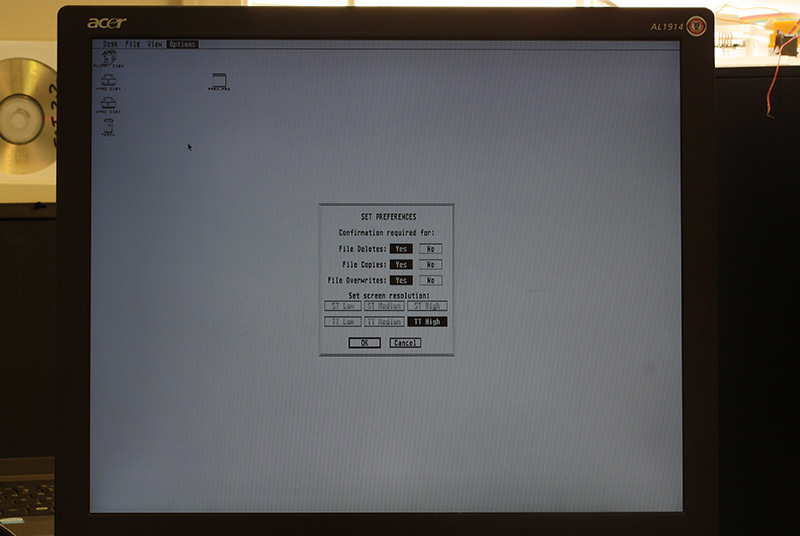
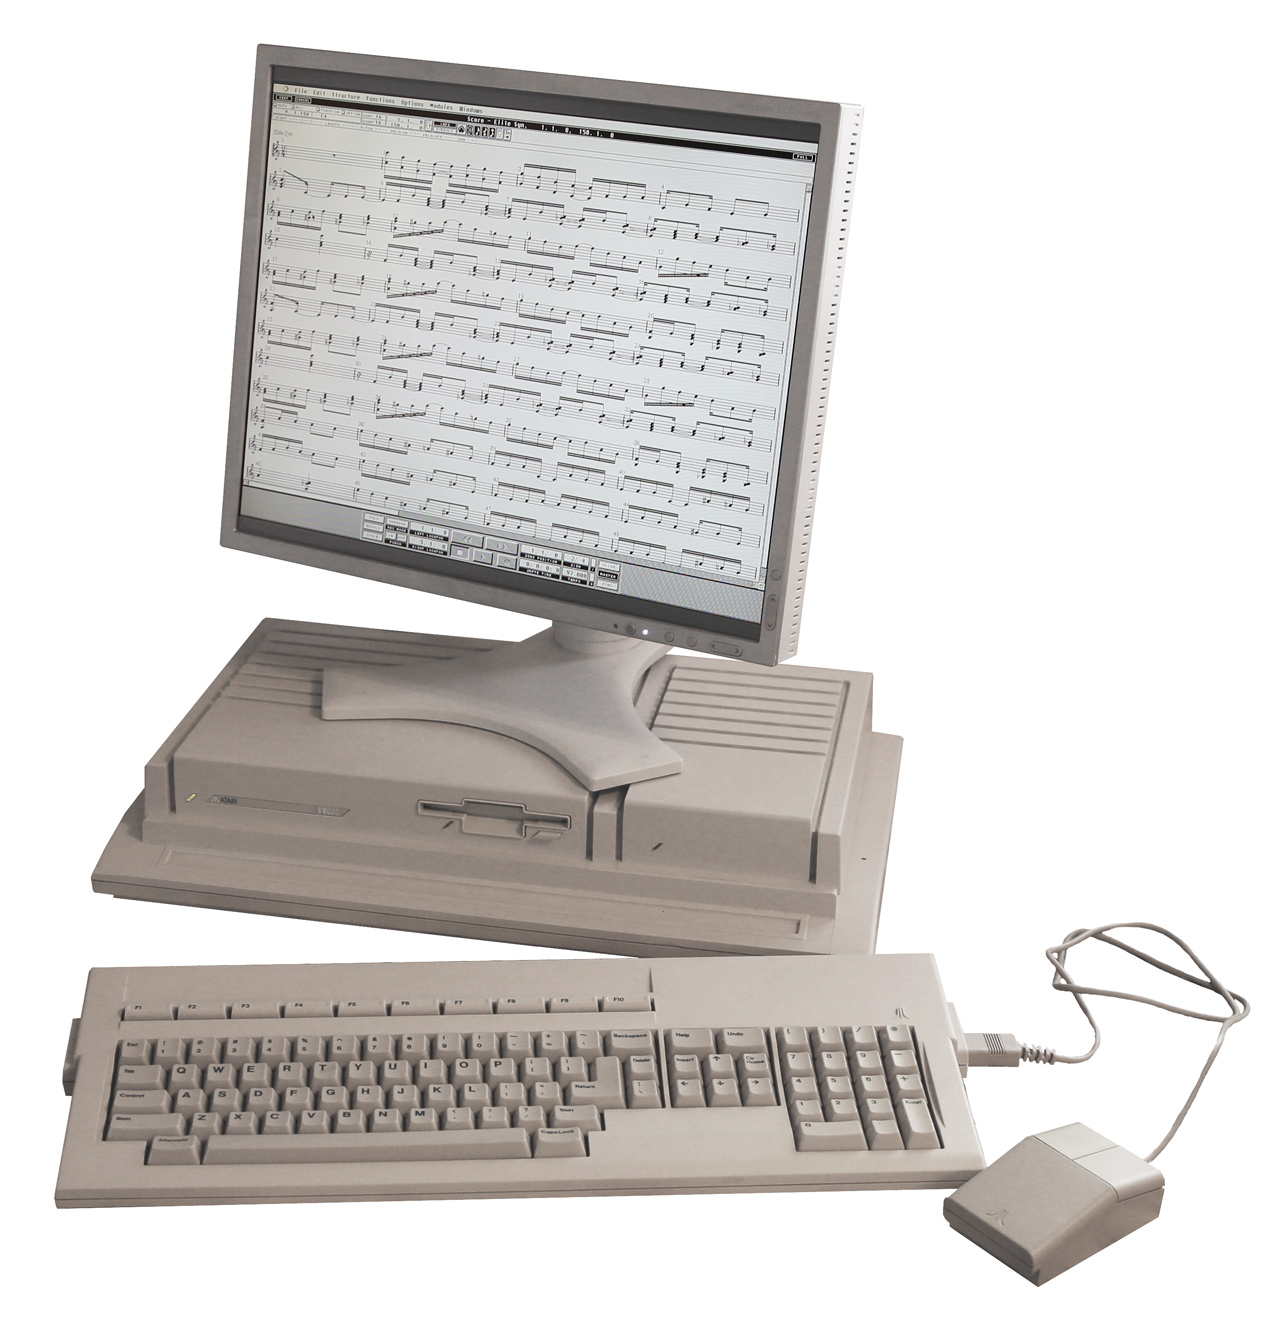
I have ordered qty 25 of the unit to be made and knowing the final price went to look for more serious commitments from Atari users who previously expressed interest. Being out of touch with Atari for quite a long time I realized that most of the interested users are musicians who still use TT for Cubase, and would like to have a larger and more modern LCD screen. They were delighted so see this:
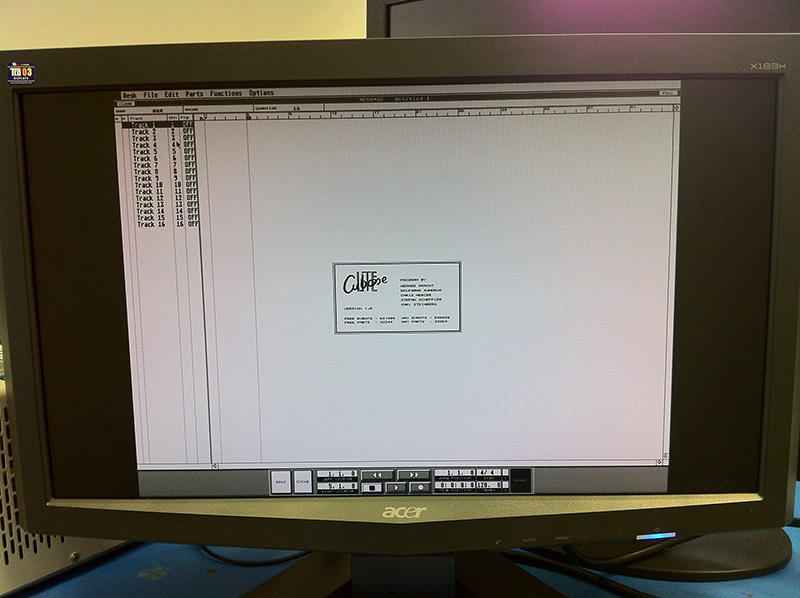
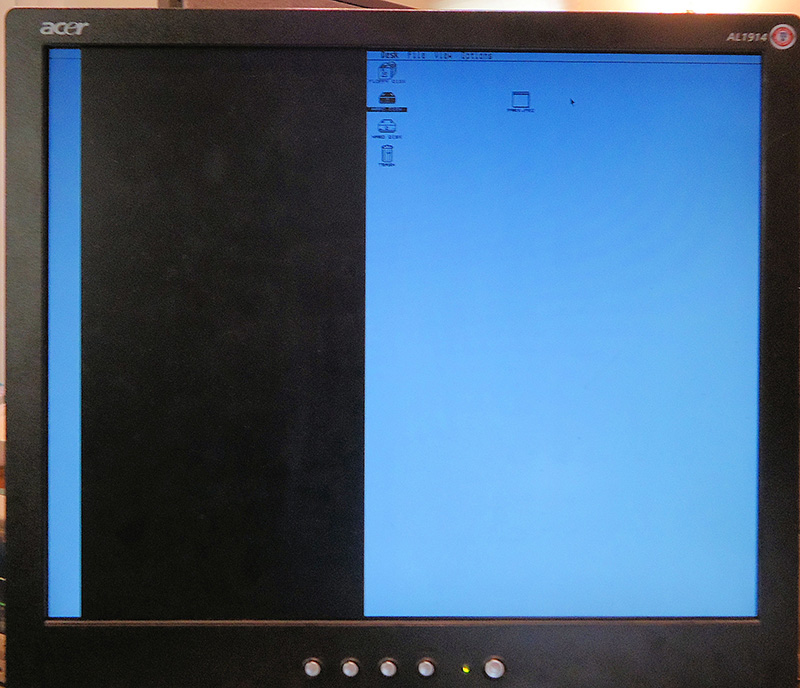
Also in the mean time I started testing more and more LCD panels and realized a rather big issue. TT High mode is 1280-960 where as most LCD panels operate in 1280-1024 mode. This is a 64 pixels difference vertically and also 4:3 to 5:4 aspect change. I have assumed this would work just fine if monitor was set to so called 1:1 mode or expansion/scaling off. Unfortunately to my utter surprise almost zero monitors out there had this mode! Only the newer, larger Dell monitors had it. But who would want to waste a 24 monitor to run such a small resolution on, with large black border. I went through endless monitors, new and used, user manuals, specs, computer junkyards like HSC and WeirdStuff, etc. Nothing seemed to work. Everything was getting anti aliased and blurred. And then someone has recommended me a NEC 1990 LCD panel:
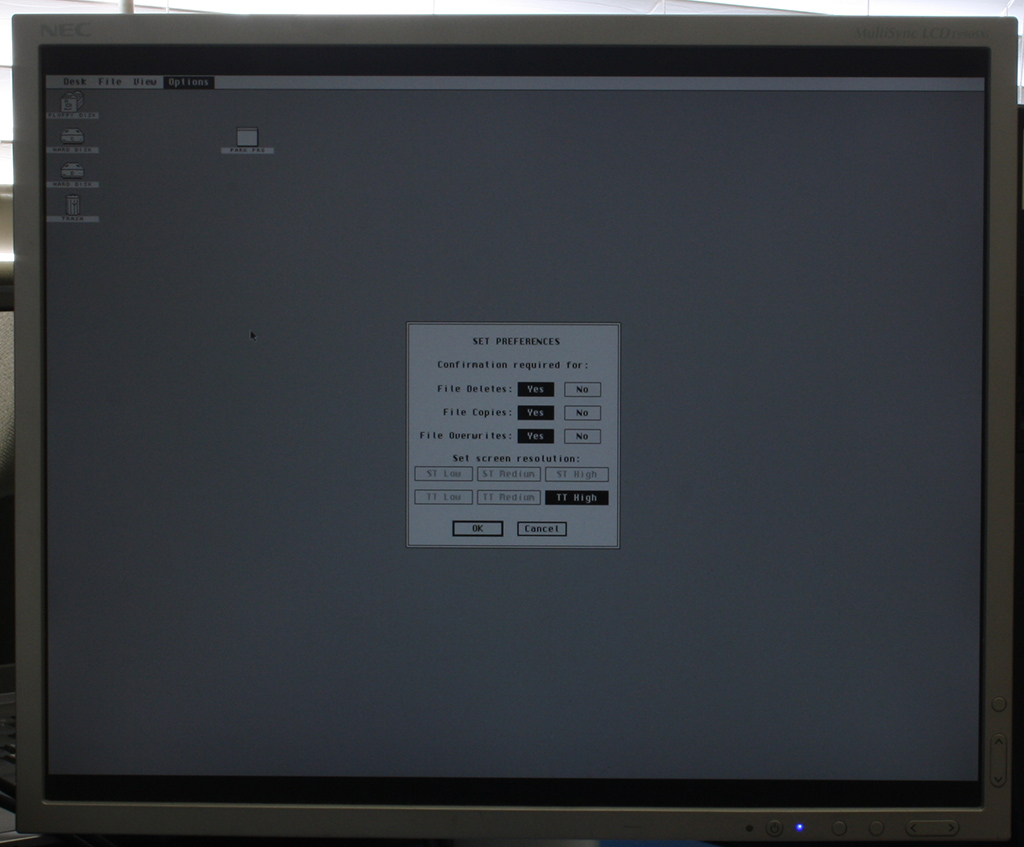
It did have 1:1 mode as well as custom aspect ratios and most advanced display settings known to an LCD panel. Worked like a dream. The screen was 100% perfectly sharp like you were looking on Atari ST emulator on a PC or Mac. The black bars on top and bottom are the lacking 64 pixels, but they are almost not noticeable. Fortunately, the NEC monitor goes for $50 USD on eBay and matches Atari TT in case color. It’s a perfect TTM 19x replacement. Most users who bough the adapter would also invest $50 and get the same monitor to avoid anti aliasing and have a perfect image display. I also became an instant fan of NEC 1990 and now see it as THE LCD panel for all my retro computing activities.
Back to Atari, one problem solved, I was hit with another disaster. The finally assembled converter units were producing rather crappy picture. The picture was oscillating and there were a lot of nasty artifacts and imperfections on the screen. The NEC LCD panel couldn’t even auto adjusting to the signal. Long story short, once components from the bread board were incorporated on to a much smaller PCB they started interfering with now un-differentiated and unshielded video signal. Also some of the ICs were overheating and changing properties after a while. The investigation and problem solving went over budget rather quickly. The company stopped charging me at some point and worked in spare time to solve the problem. Unfortunately it took several months to finish. This is mainly because each try requires a new PCB reprint, at low cost / priority which is of course made in China. So about 1 month for 1 try just to see if it’s any better. From a time perspective now I can understand why all previous attempts to construct such a device failed miserably. It required a LOT of patience and professional expertise to finish it.
This is how a final version of TenoxVGA looks like:
In the mean time I had some time to come up with a case for it. I have experimented with a water jet cutter:

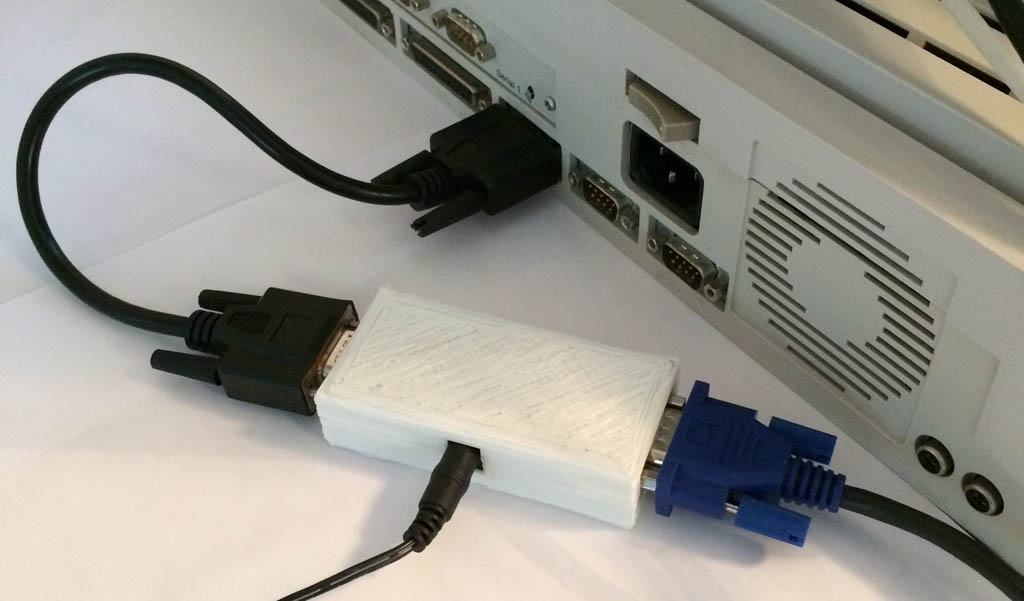
but finally settled for a 3d printed version. It’s much cheaper and easier to produce than cutting and bending a sheet metal:
Once I have received a shipment of 25 units and got appropriate power supplies and cables I have winged a website with paypal payment and started selling to the happy Cubase users.
Having fixed the 20 year old video problem I was now ready to install Atari System V UNIX
…continued in this post!
Sad that the pictures went missing in a site reshuffle. These old blog posts are still very fun.
Yes something went wrong with a wordpress upgrade. The images aren’t lost, they are actually on the filesystem. I’m not sure I’m just trying not to re-install yet again….