building NACL stuff on OS X

this wasn’t too much fun as it is a constantly moving target and documentation slides by the side… So no doubt by the time someone else reads this it’ll be obsolete.

Some of the steps you can follow from here…

https://developers.google.com/native-client/sdk/download

the output will be completely different though.  Something like this:

$ ./naclsdk list
Bundles:
I: installed
*: update available

I sdk_tools (stable)
vs_addin (dev)
pepper_27 (post_stable)
pepper_28 (post_stable)
pepper_29 (post_stable)
pepper_30 (post_stable)
pepper_31 (stable)
pepper_32 (dev)
pepper_canary (canary)

All installed bundles are up-to-date.

I chose to install the stable branch, pepper_31 in this case (the google page talks about version 14 being stable, so a LOT has changed).

./naclsdk update pepper_31

And two big files will download and unpack in your directory.

You will also need depot_tools, a collection of scripts google uses for git/svn.  Be sure to setup your path & environment for NACL building:

$ cat /Users/neozeed/.profile
NACL_SDK_ROOT=/Users/neozeed/src/nacl_sdk/pepper_31/
PATH=/usr/bin:/bin:/usr/sbin:/sbin:/usr/local/bin:/Users/neozeed/src/depot_tools

export NACL_SDK_ROOT PATH

And of course you’ll want to check out the nacl ports.  With everything in place the download should at least work correctly

mkdir naclports
cd naclports
gclient config –name=src https://chromium.googlesource.com/external/naclports.git
gclient config http://naclports.googlecode.com/svn/trunk/src
gclient sync

And then before you go racing off trying to build something, as it stands right now (December 2013, pepper v.31), there is a big ‘libc’ change going on, and most of the nacl stuff will not build.  You’ll need to issue something like this:

NACL_GLIBC=1 make nethack

The other major roadblock I’ve seen so far is that zlib will not build correctly, it’ll want to build a static version of itself, because the configure script is still seeing your PC as OS X, not as a nacl build.  I found the easier way was to rename the Darwin section, and then remove all the Linux bits in the OS detection and rename that to Darwin…

Linux | linux | GNU | GNU/*) LDSHARED=${LDSHARED-“$cc -shared -Wl,-soname,libz.so.1”};;

becomes

Darwin*) LDSHARED=${LDSHARED-“$cc -shared -Wl,-soname,libz.so.1”};;

And further down just rename

Darwin*) shared_ext=’.dylib’

to

XXXDarwin*) shared_ext=’.dylib’

And rebuilt zlib and now you should get the dynamic library everything else hinges on.

I hope this helps someone else..

Virtual Xenix & the internet

This is probably the most significant Xenix post I’ve made since the old days when I managed to get Xenix running in Qemu all those years ago.

3com network card

3comB network card

What has long been a frustration with the beleaguered Xenix community is that although there was a TCP/IP package for Xenix (and a much required streams package…) it only worked with a handful of ethernet cards.  And all of them were early 3com’s.  While the world was using NE2000’s on just about everything, the most common ethernet board Xenix would talk to was the 3c503, which is getting harder and harder to find as the years go on by.

But right now none of this matters.

I was looking at this article on setting up Apollo Domain UNIX, on MESS.  And apparently it will do networking!  Which is cool, so I poke around MESS, and what do I see? 3c503.c. Could it be true?

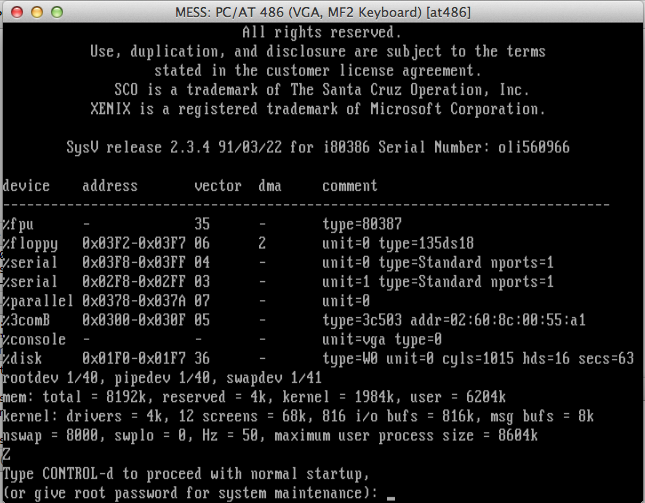
Now I ended up having to download the source to mame 0.151 (mame0151s.zip) and building it on OS X.  Of course remembering to alter the makefile to include the ‘USE_NETWORK=1’ statement, and build for Mess.  And just as it looks like something out of SIMH, Mess makes use of libpcap which means that you are *unable* to send/receive on the host computer. (OS X & Win32 binaries).  And of course you’ll need a ROM & Xenix diskettes.

Installing Xenix is pretty straightforward as long as you know your system key, and how to navigate the mess UI without rebooting mess or exiting by mistake (scrolllock on the PC, function/Delete on OS X).

First create a hard disk, and as always it should be ~500MB max.

chdman.exe createhd -o xenix.chd -chs 1015,16,63
chdman – MAME Compressed Hunks of Data (CHD) manager 0.149u1 (Aug 10 2013)
Output CHD: xenix.chd
Compression: none
Cylinders: 1015
Heads: 16
Sectors: 63
Bytes/sector: 512
Sectors/hunk: 8
Logical size: 523,837,440

then with the disk in hand, I just setup a 486 like this:

./mess64 at486 -harddisk1 xenix.chd -isa2 3c503 -ramsize 8388608 -floppydisk1 xenix/n1.vfd

Naturally you’ll need to setup the CMOS, for your memory size, and the hard disk.  The BIOS I’m using didn’t autodetect the IDE drive, but it doesn’t matter as I know it’s characteristics as I created it.

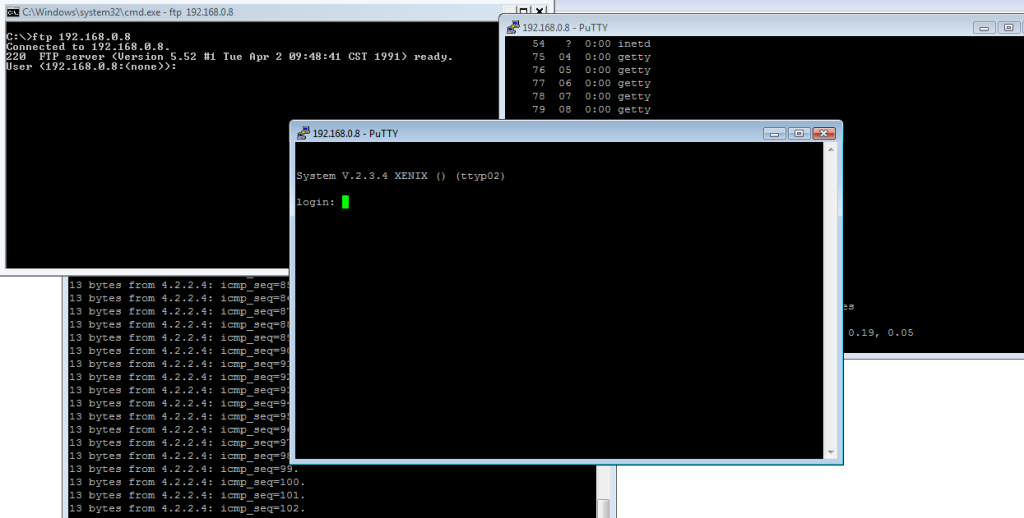
From there Xenix was a pretty straight forward deal.  Mess has good floppy drive emulation so it just worked.  Adding TCP-IP was just as involved, and all went well.  When it came time to install TCP & the network driver, remember to use thinnet, as the thicknet transceiver isn’t connected (as it would seem).  The 3c503 is softset, so I went with IRQ 5, port 0x300, and thinnet, and it works fine for me!

mess xenix networking

Xenix TCP/IP in action, inside of MESS!

Remember you will not be able to attach to it from your computer.  Instead you must attach from another computer.

Also MESS tries to emulate true to hardware so it’ll be just as slow on MESS as it was on the real hardware.  I suppose you could go with the at386 driver, but yeah it’ll be slow.  The current at586 driver has issues booting from the hard disk, and I didn’t mess with it too much as Xenix is known to have issues with some Pentium systems.

Although I think the next place for adventure is the emulated Adaptec 1542CF.

SAGE CP/M disk fun

Wow this was without a doubt one of the more confusing things I’ve ever done.

So here is the problem.  I want to delete some files from an IMD disk image, and then copy some new ones in.  Easy right? .. maybe.

Ok first up the easiest tool I’ve found to manipulate CP/M disk images is cpmtools.  Even better their pre-compiled binary is for Win32, so I’ll run it with Wine on OS X.  which works fine.  Although there is one slight problem, cpmtools doesn’t read the IMD disk format.  So you will have to download imd118.zip from a backup of the late author’s computer.

Now using IMD you need to convert the OS disk into a ‘raw’ or ‘binary’ file.  Naturally IMD is a MS-DOS program so firing up DOSBox, I ran:

Screen Shot 2013-12-05 at 8.35.58 PM

Uncompressing, so easy!

IMDU CPM68K12.IMD CPM.RAW /B

And a few seconds later I had my raw file.  Now the next thing was to manipulate the image in cpmtools.  cpmtools has a database of disk drive types, and naturally there is no definition for the SAGE2.  However thanks to a friend of mine (hi Lorenzo!) I took at look at 22disk, and found their demo version did in-fact have a definition for the SAGE:

BEGIN SAG2 Sage IV – DSDD 96 tpi 5.25″
DENSITY MFM,LOW
CYLINDERS 80
SIDES 2
SECTORS 8,512
SIDE1 0 1,2,3,4,5,6,7,8
SIDE2 1 1,2,3,4,5,6,7,8
ORDER SIDES
BSH 4 BLM 15 EXM 0 DSM 315 DRM 63 AL0 080H AL1 0 OFS 2
END

Which is great, however it took a bit of experimenting to work out how to format this information for cpmtools.  I compared a bunch of known formats, and then managed to work this out:

diskdef sage2
seclen 512
tracks 160
sectrk 8
blocksize 2048
maxdir 128
skew 1
boottrk 2
os 2.2
end

And now I can look at the image file!

$ wine cpmls -f sage2 CPM68K12.RAW
0:
ar68.68k
armath.sub
as.sub
as68.68k
as68symb.dat
asgo.sub
brwnies.txt
copy.68k
core.sub
cpm.sys
ddt.68k
ddt68000.68k
dump.68k
e.sub
find.68k
halt.68k
init.68k
linkcore.sub
lnk.sub
lo68.68k
m.sub
mcc.sub
mince.68k
mince.swp
mind.sub
orbit.sub
p.sub
pe.sub
pip.68k
print.68k
red.sub
redasm.sub
sage4utl.68k
sagebios.sys
screen.68k
setenv.68k
setprntr.68k
sig.txt
space.sub
spacem.sub
startup.sub
stat.68k
tlnk.sub

So I tidy up the image, and copy it back to the IMD program for compressing.  And this was, without a doubt the most difficult to figure out, until after a bunch of searching, and Lorenzo once more again pointed me in the direction of bin2imd

not intuitive!

not intuitive!

So yeah.

BIN2IMD X.RAW X.IMD DM=2 N=80 SS=512 SM=1-8 /2

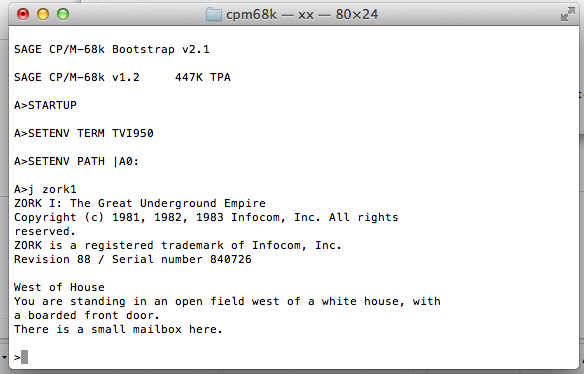
And the best part is that it worked!  So now I was able to transfer over a binary version of com.68k, com2.68k, along with Zork, and fire it up!

8080 Zork on 68k CP/M

8080 Zork on 68k CP/M

Unfortunately the interpreter doesn’t work right.  It could be the disk transfers fault, maybe the SIMH SAGE emulator, or even the 8080 emulator.  But it worked this far.

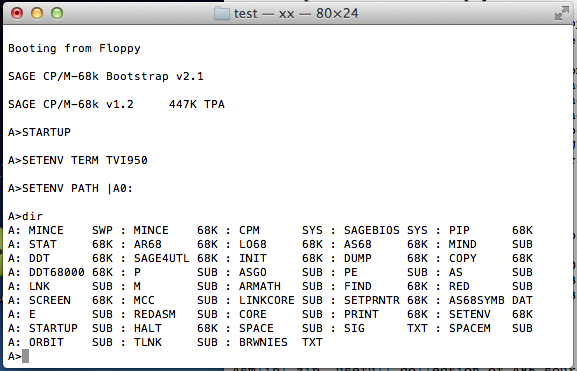
SAGE CP/M 68k on SIMH

Somehow, I missed this as a ‘beta’ driver for the last public release of SIMH.

68k CP/M 1.2

68k CP/M 1.2

What makes the 68000 version of CP/M different from the i8080 version is that it was coded in C.  And of course 68k CP/M suffered the same problem every other processor incompatible ‘same os’ OS has ever suffered which is no applications.  But that is when I remembered the COM, which started out it’s life as an 8080 emulator for the 68000.  With a LOT of creative googlling, I managed to find the source, mysteriously labelled 8088M.ZIP.  I also found a binary here. But unfortunately that is as far as I got.  I haven’t managed to figure out a way to inject files into the SAGE CP/M IMD disk images.

So this is where I’m stuck, and this is my call for help.  If anyone knows how to get files in/out of these IMD files give me a shout.  For anyone interested in 68k CP/M this is your chance to get it running.

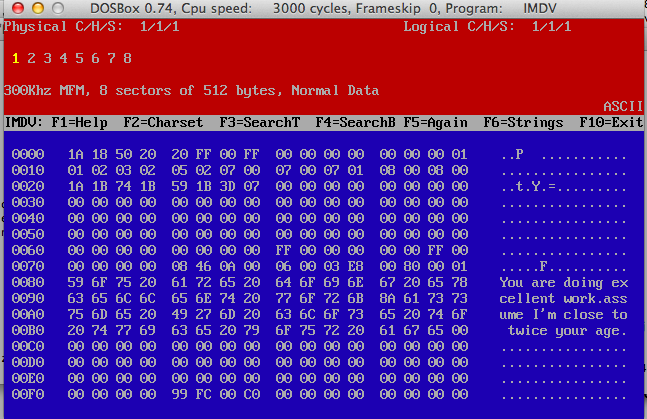
The one funny thing I found in a hex editor of the disk image was this:

Screen Shot 2013-12-05 at 12.20.20 AM

Cryptic message

Oh well.


***EDIT***

Never mind, me and a friend of mine (hi Lorenzo!) got the disk image thing figured out!

Qemu & SunOS 4.1.4

SunOS 4.1.4 was the last version of the BSD based SunOS for the SPARC platform.  I had received an email earlier asking if Qemu could run SunOS.  Earlier it was ‘capable’ however there were issues with the serial ports.  And the framebuffer stuff that the SUN Proms recognized was never mainlined (please tell me I’m wrong?).

But then with a quick google search I came across this wikibook page with detailed instructions on how to install SunOS 4.1.4.

SunOS

SunOS on Qemu 1.7.0rc2

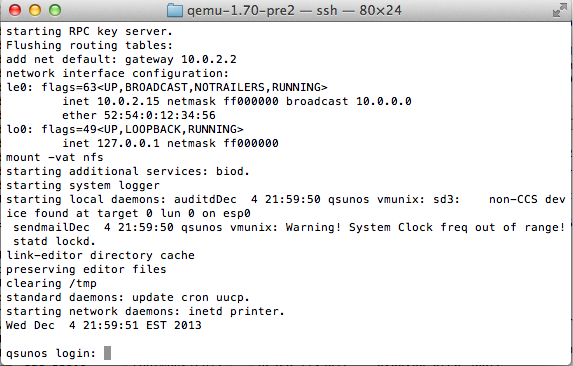
So I quickly built a sparc version of Qemu 1.7.0rc2, and followed the instructions.  I was amazed that now we are able to boot off the CD (still attached as a HD though) but label the main hard disk, and install SunOS.  I have to say it is very impressive.

Another hint I came across is the more correct way to boot the Sparc Station 20’s

-bios /usr/local/share/qemu/ss20_v2.25_rom -M SS-20 -smp 2,cores=4 -cpu “TI SuperSparc 60”

Sadly there is no graphical output, but the PROM won’t crash.  I think you can have 512MB of ram on the SS-20.

Qemu vs KVM with Novell Netware 3.12

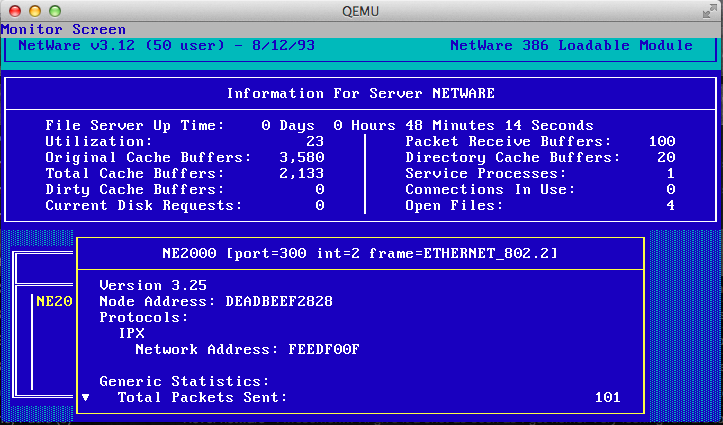
So I received an interesting tip, talking about the latest Qemu version, when it was mentioned that it isn’t the hardware that is at fault with Netware not running, but rather something in the emulated CPU.

Because, get this, Novell Netware runs in KVM.

Novell Netware 3.12

Novell Netware 3.12

I was taken back, all this time I thought it was something in the -M isapc definition that broke, but it’s the CPU!  I even rebuilt Qemu with the TCG interpreter, and it too breaks.  I even went one more crazy step, and installed with the ancient isadisk controller, and NE2000 on the ISA bus, and it works!

So for now my old copy of Netware I bought a million years ago lives in the cloud!