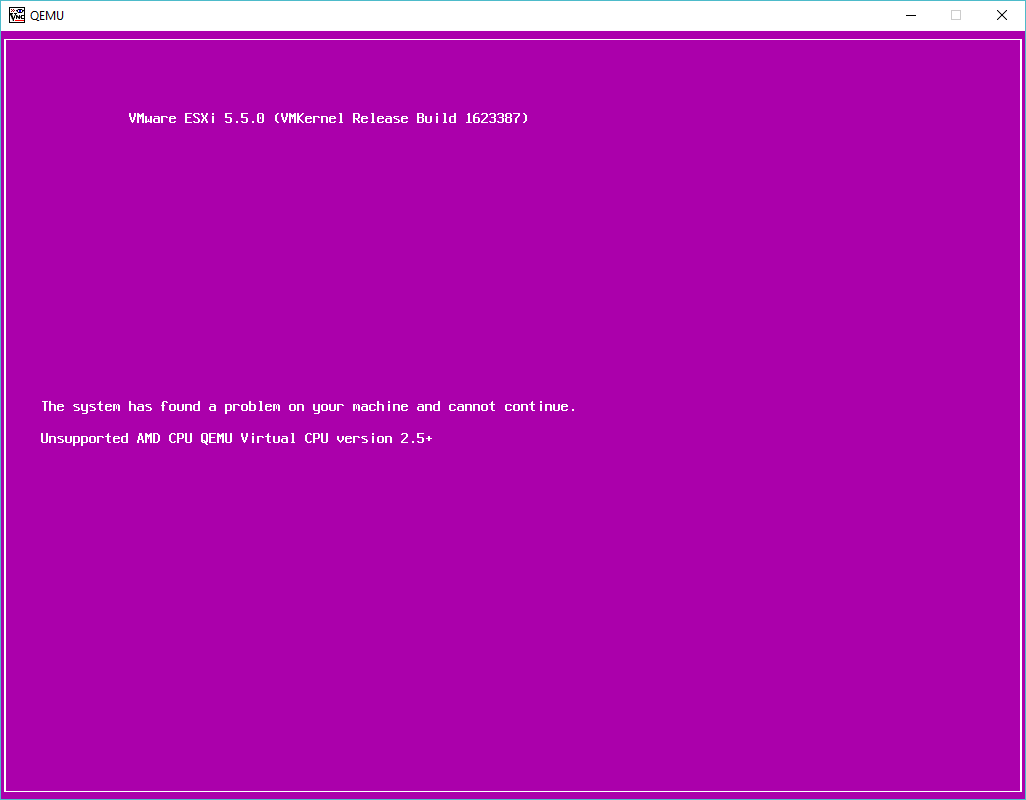
So with VIRL in hand, the next thing I wanted to do was play with some LACP, and VMWare ESX. Â Of course the best way to do this is under KVM as you can use UDP to bounce packets around between virtual machines, like the VIRL L2 switch. Â I went ahead and fired up 5.5 and got this nice purple screen of death.
So naturally I need to force the processor type. Â Also after reading a few sites, I needed to turn on a nested & ignore_msrs settings:
root@ubuntu:/etc/modprobe.d# cat qemu-system-x86.conf
options kvm_amd nested=1
options kvm ignore_msrs=1
Naturally if you are using an Intel processor the statements need to reflect that. Â All being well you will see something like this in your log file:
Mar 7 11:34:38 ubuntu kernel: [ 14.802132] kvm: Nested Virtualization enabled
Mar 7 11:34:38 ubuntu kernel: [ 14.802134] kvm: Nested Paging enabled
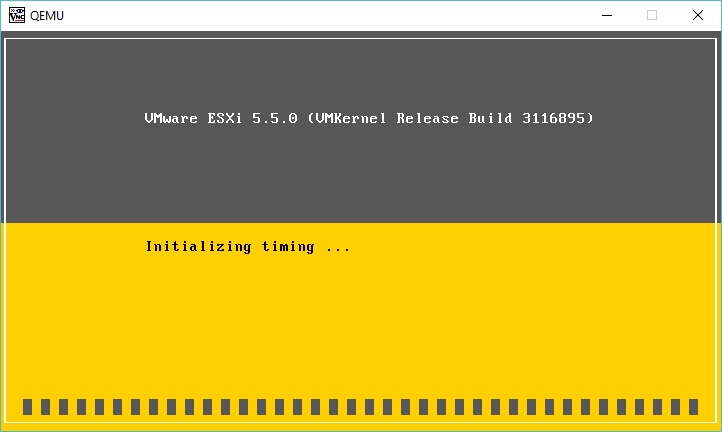
I got a little further trying to install VMWare ESXi 5.5 update 3, however it just hangs on Intitializing timing…
(I did later solve the 5.5 problem in a follow up here!)
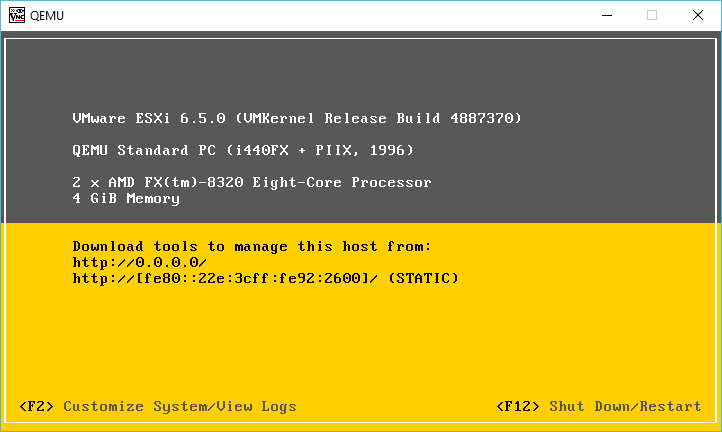
After going nowhere with that, I went ahead and downloaded VMWare ESXi 6.5 which as of today is the latest version, and that installed just fine!
For anyone brave or crazy enough to think about reproducing this, here is my install command line (yes Im doing this old school way on purpose)
kvm -vnc 0.0.0.0:1 -cpu host \
-machine pc-i440fx-2.1 \
-m 4096M \
-smp cpus=2 \
-boot order=d \
-drive file=esx-1.qcow2,if=ide,index=0,media=disk \
-serial telnet:127.0.0.1:5001,server,nowait \
-monitor tcp:127.0.0.1:6001,server,nowait \
-net none \
-device vmxnet3,mac=00:2e:3c:92:26:00,netdev=esx-0 \
-device vmxnet3,mac=00:2e:3c:92:26:01,netdev=esx-1 \
-device vmxnet3,mac=00:2e:3c:92:26:02,netdev=esx-2 \
-device vmxnet3,mac=00:2e:3c:92:26:03,netdev=esx-3 \
-netdev socket,id=esx-0,udp=127.0.0.1:10000,localaddr=127.0.0.1:20000 \
-netdev socket,id=esx-1,udp=127.0.0.1:10001,localaddr=127.0.0.1:20001 \
-netdev socket,id=esx-2,udp=127.0.0.1:10002,localaddr=127.0.0.1:20002 \
-netdev socket,id=esx-3,udp=127.0.0.1:10003,localaddr=127.0.0.1:20003 \
-cdrom VMware-VMvisor-Installer-5.5.0.update03-3116895.x86_64.iso \
-boot d
As you can see it really isn’t that involved, well once you get the formatting to make some sense. Â And to run it normally I run it something like this:
kvm -vnc 0.0.0.0:1 -cpu host \
-machine pc-i440fx-2.1 \
-m 4096M \
-smp cpus=2 \
-drive file=esx-1.qcow2,if=ide,index=0,media=disk \
-serial telnet:127.0.0.1:5001,server,nowait \
-monitor tcp:127.0.0.1:6001,server,nowait \
-net none \
-device vmxnet3,mac=00:2e:3c:92:26:00,netdev=esx-0 \
-device vmxnet3,mac=00:2e:3c:92:26:01,netdev=esx-1 \
-device vmxnet3,mac=00:2e:3c:92:26:02,netdev=esx-2 \
-device vmxnet3,mac=00:2e:3c:92:26:03,netdev=esx-3 \
-netdev socket,id=esx-0,udp=127.0.0.1:10000,localaddr=127.0.0.1:20000 \
-netdev socket,id=esx-1,udp=127.0.0.1:10001,localaddr=127.0.0.1:20001 \
-netdev socket,id=esx-2,udp=127.0.0.1:10002,localaddr=127.0.0.1:20002 \
-netdev socket,id=esx-3,udp=127.0.0.1:10003,localaddr=127.0.0.1:20003
So it’s basically the same, just no mounted CD-ROM image. Â Now this is all fun, but what about networking? Â As I had mentioned before, I bought a VIRL license, which includes a l2 Catalyst image, so why not use that, instad of a ‘traditional’ Linux bridge? Â Sure! Â In this example I’m going to connect the 4 ethernet ports from the ESXi into the first 4 ports on the cisco switch, with the last port connecting to a Linux bridge, that I then route to, as I wanted all my lab crap on a seperate network. Â To start the switch I use this script:
kvm \
-m 768M \
-smp cpus=1 \
-boot order=c \
-drive file=vios_l2-adventerprisek9-m.vmdk.SSA.152-4.0.55.E.qcow2,if=ide,index=0,media=disk \
-serial telnet:127.0.0.1:5000,server,nowait \
-monitor tcp:127.0.0.1:51492,server,nowait \
-net none \
-device e1000,mac=00:2e:3c:92:26:00,netdev=gns3-0 \
-device e1000,mac=00:2e:3c:92:26:01,netdev=gns3-1 \
-device e1000,mac=00:2e:3c:92:26:02,netdev=gns3-2 \
-device e1000,mac=00:2e:3c:92:26:03,netdev=gns3-3 \
-device e1000,mac=00:2e:3c:92:26:04 \
-device e1000,mac=00:2e:3c:92:26:05 \
-device e1000,mac=00:2e:3c:92:26:06 \
-device e1000,mac=00:2e:3c:92:26:07 \
-device e1000,mac=00:2e:3c:92:26:08 \
-device e1000,mac=00:2e:3c:92:26:09 \
-device e1000,mac=00:2e:3c:92:26:0a \
-device e1000,mac=00:2e:3c:92:26:0b,netdev=gns3-tap \
-netdev socket,id=gns3-0,udp=127.0.0.1:20000,localaddr=127.0.0.1:10000 \
-netdev socket,id=gns3-1,udp=127.0.0.1:20001,localaddr=127.0.0.1:10001 \
-netdev socket,id=gns3-2,udp=127.0.0.1:20002,localaddr=127.0.0.1:10002 \
-netdev socket,id=gns3-3,udp=127.0.0.1:20003,localaddr=127.0.0.1:10003 \
-netdev tap,id=gns3-tap,ifname=tap0,script=/etc/qemu-ifup \
-nographic
Now as you can see the udp sockets are inverse of eachother, meaning that the ESX listens on 10000 and sends to 127.0.0.1 on port 20000, while the switch listesns on 20000, and sends packets to 10000 for the first ethernet interface pair.
By default VMware only assigns the first NIC into the first virtual switch, so after enabling CDP, we can see we have basic connecitivity:
AMD-kvm#sho run int gig0/1
Building configuration…
Current configuration : 99 bytes
!
interface GigabitEthernet0/1
media-type rj45
speed 1000
duplex full
no negotiation auto
end
AMD-kvm#show cdp neigh
Capability Codes: R – Router, T – Trans Bridge, B – Source Route Bridge
S – Switch, H – Host, I – IGMP, r – Repeater, P – Phone,
D – Remote, C – CVTA, M – Two-port Mac Relay
Device ID Local Intrfce Holdtme Capability Platform Port ID
KVMESX-1 Gig 0/0 155 S VMware ES vmnic0
Total cdp entries displayed : 1
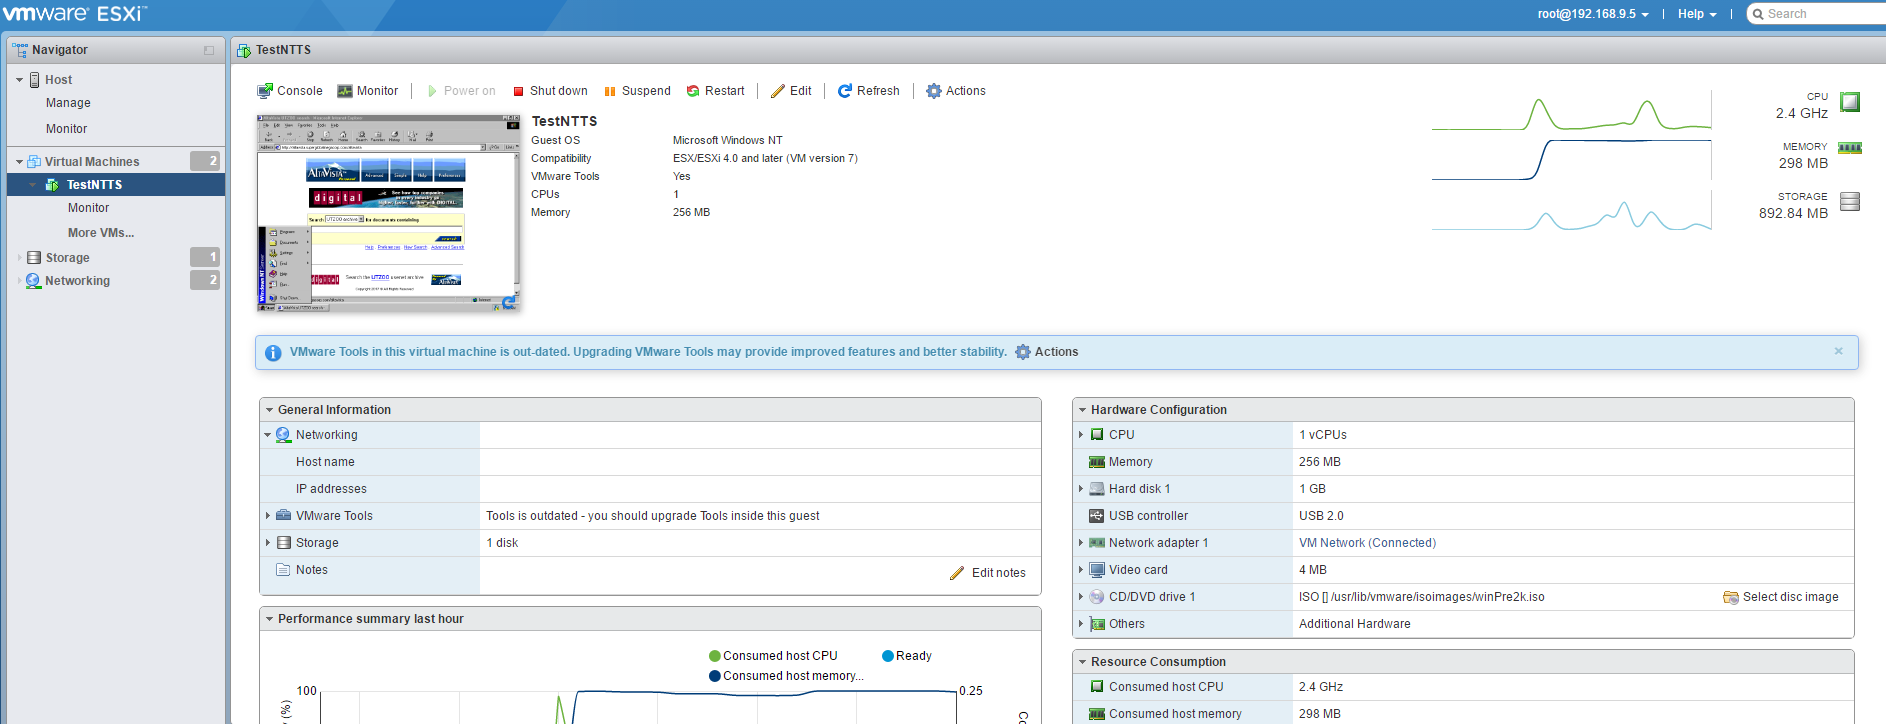
And of course the networking actually does work… I created a quick VM, and yep, It’s online!
AMD-kvm#show mac address-table
Mac Address Table
——————————————-
Vlan Mac Address Type Ports
—- ———– ——– —–
1 000c.2962.09e5 DYNAMIC Gi0/0
1 002e.3c92.2600 DYNAMIC Gi0/0
1 76b0.3336.34b3 DYNAMIC Gi2/3
Total Mac Addresses for this criterion: 3
And of course some obliguttory pictures:
And:
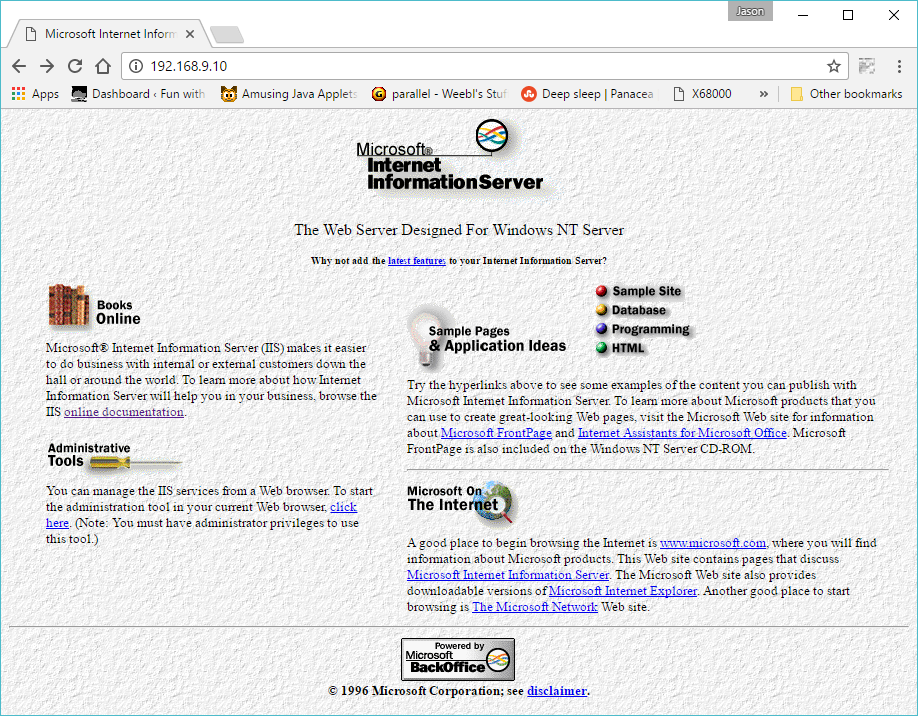
With ip forwarding turned on my Ubuntu server, and an ip address assigned to my bridge interface, I can then access the NT 4.0 VM from my laptop directly.
Nex’t time to make the L2 more complicated, and add in some L3 insanity…

Hi,
I would like to know which qemu version did you use for this experiment, perhaps the linux distro you used as well.
Thanks!
It’s going to be whatever unbuntu was current back then. I do recall using both their boxed in qemu/KVM along with building the latest release from source to get the same results.
Yep. I hadn’t used esxi since ages so decided to give esxi 6.5 a go on KVM.
Loaded ESXi 6.5 on it and the installer is going alright (e1000 was required).
uname -a
Linux mmc02 4.14.18-200.fc26.x86_64 #1 SMP Thu Feb 8 01:35:48 UTC 2018 x86_64 x86_64 x86_64 GNU/Linux
qemu-system-x86_64 –version
QEMU emulator version 2.9.1(qemu-2.9.1-2.fc26)
Copyright (c) 2003-2017 Fabrice Bellard and the QEMU Project developers