Re-creating the steps from 7 years ago the first phase was to build the Darwin kernel. Like everything else, once you know what is involved, it’s not all that difficult. But as always finding out the steps to get there is half the fun!
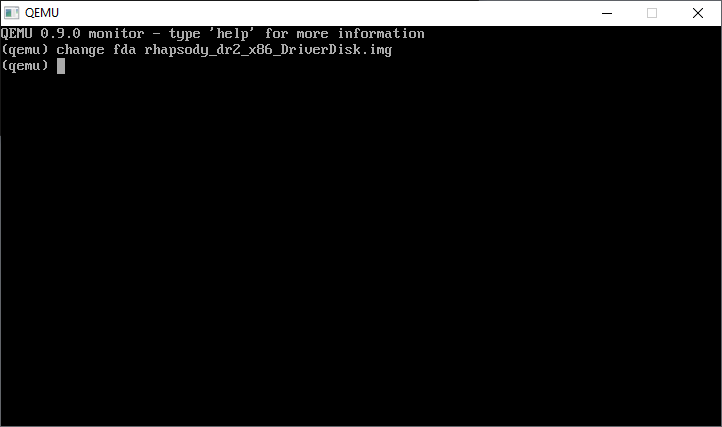
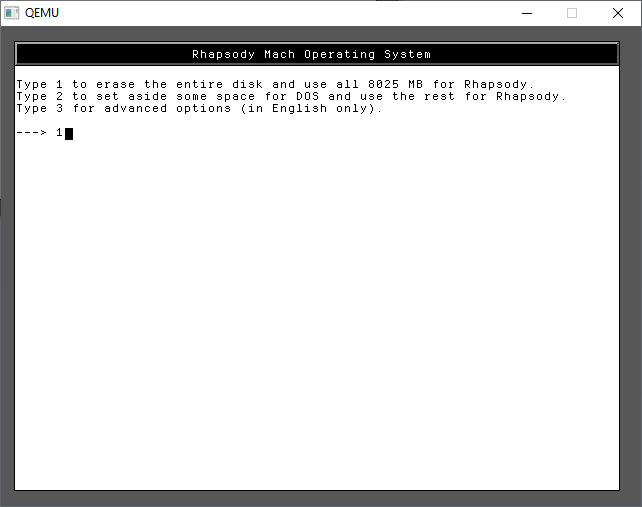
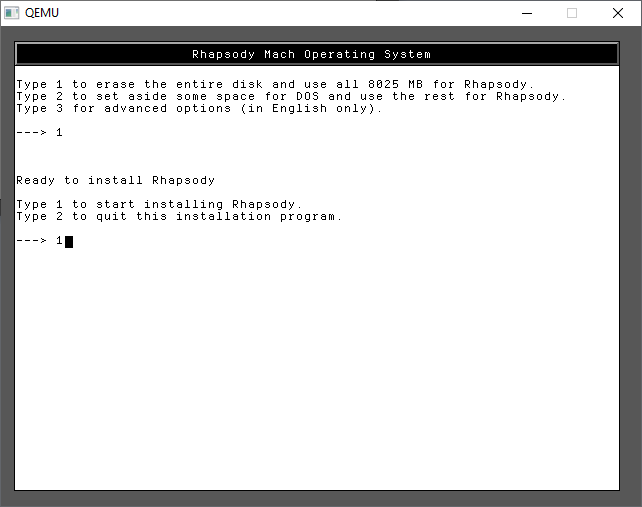
I’m going to assume if you want to follow along, that you’ve completed the first part of this exercise, and you have a Rhapsody DR 2 system up and running. Due to some issues I’ve had with creating a lot of files & filesystem corruption, we are going to create and add two more disks to the system. On Qemu we need to add them via the CLI:
qemu-img create -f vmdk source.vmdk 8G
qemu-img create -f vmdk scratch.vmdk 8G
Adding them to the command line gives us something like this:
qemu -L pc-bios -m 512 ^
-k en-us ^
-rhapsodymouse ^
-hda rhapsody.vmdk ^
-hdb source.vmdk ^
-hdd scratch.vmdk ^
-cdrom darwin-builder-04-23-2024.iso ^
-fda nic.flp ^
-net nic,model=ne2k_pci,vlan=1 ^
-net socket,udp=127.0.0.1:5001,remote=127.0.0.1:5000,vlan=1 ^
-boot c ^
%1 %2 %3 %4 %5 %6 %7
Additionally you’ll also need to download the current ‘darwin builder’ ISO that I’ve put up on sourceforge. As of today it is darwin-builder-04-23-2024.iso
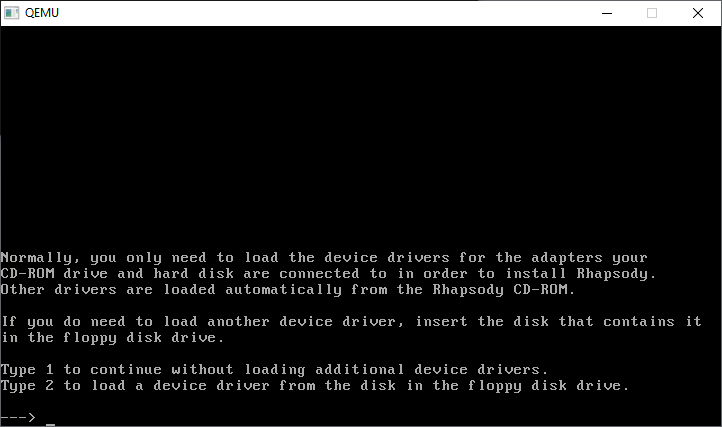
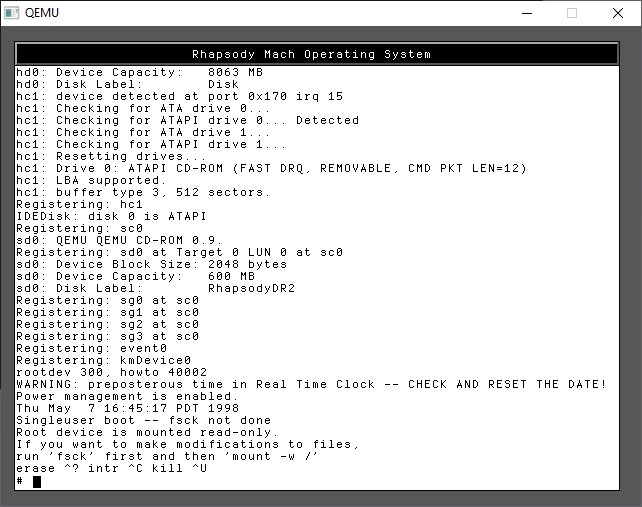
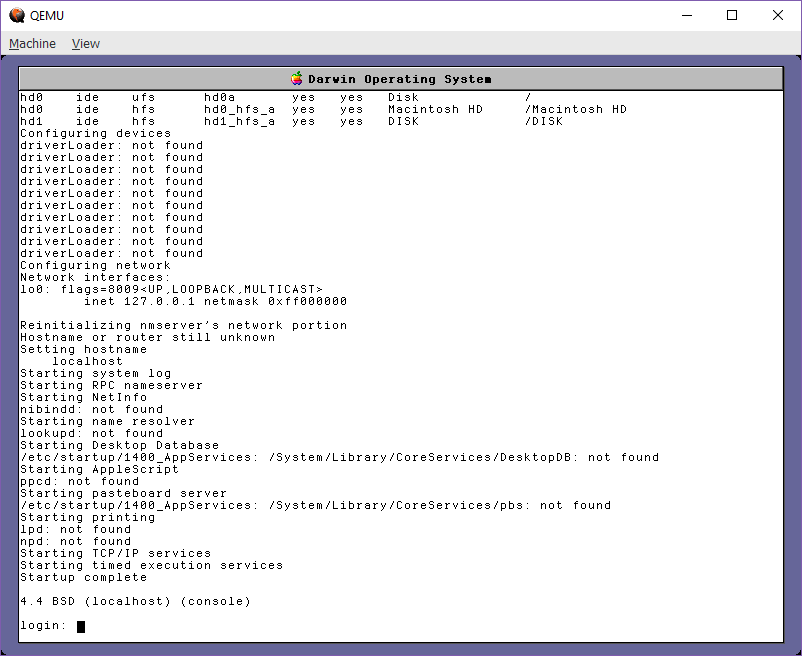
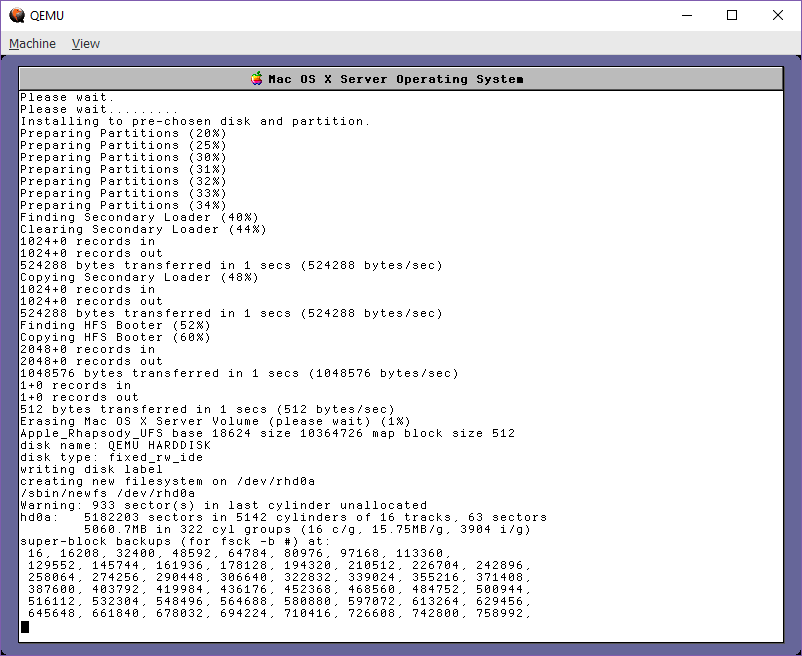
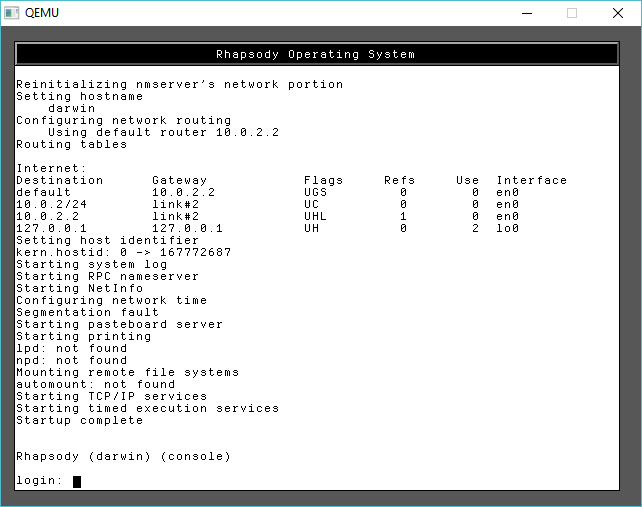
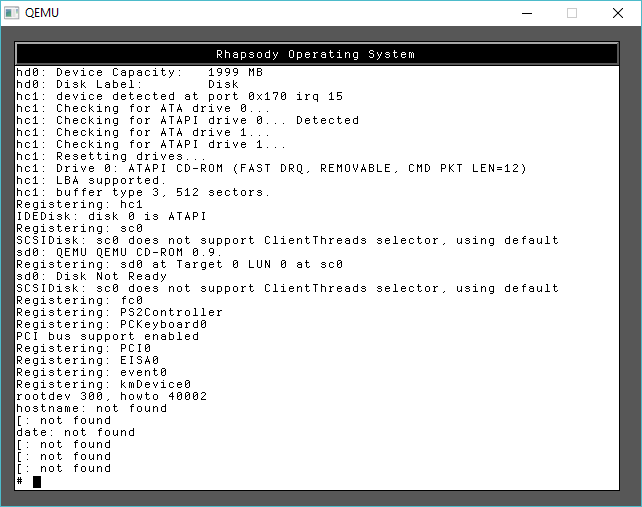
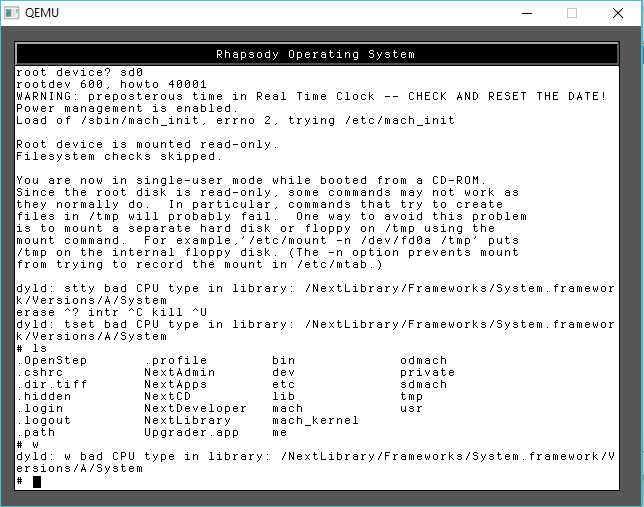
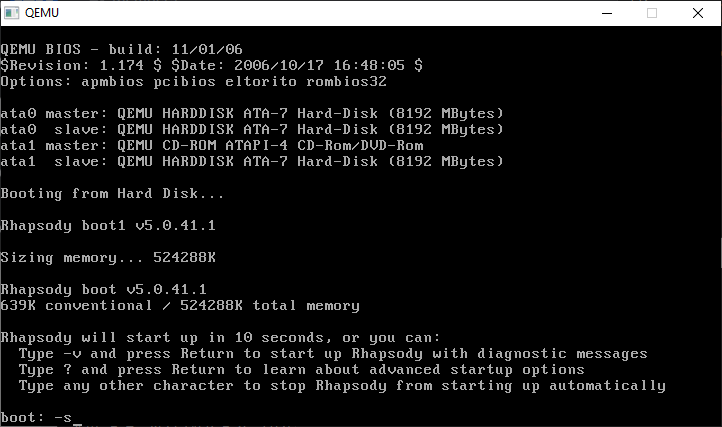
Step one is to boot into single user mode. As we need to prep & format the disks under Darwin before the system starts up.
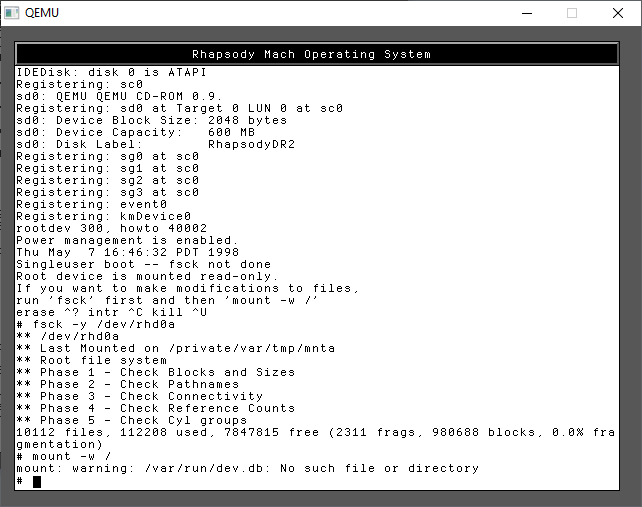
We need to check the hard disk, and then create the device names for the third hard disk.
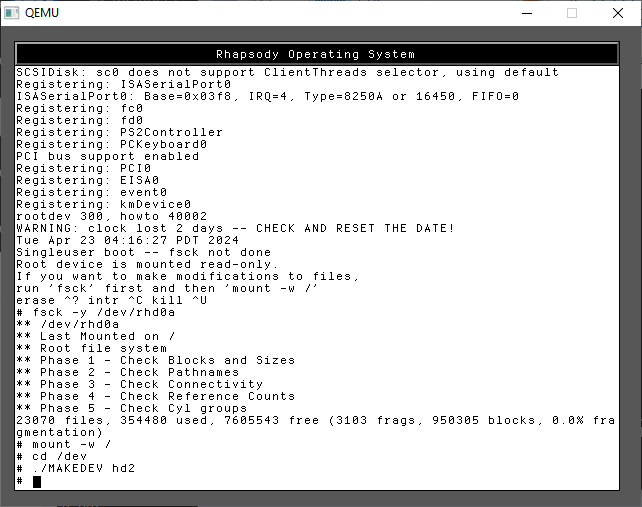
fsck -y /dev/rhd0a
mount -w /
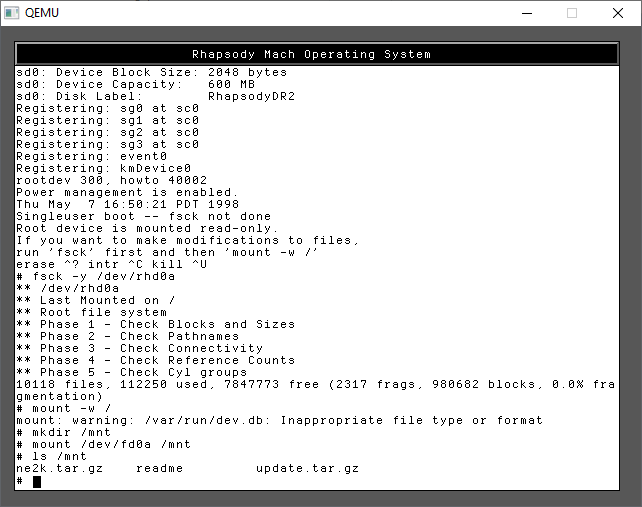
cd /dev
./MAKEDEV hd2Now we need to run the ‘disk’ command which will abstract the whole volume creation. There are numerous flags, but we don’t need all that many.
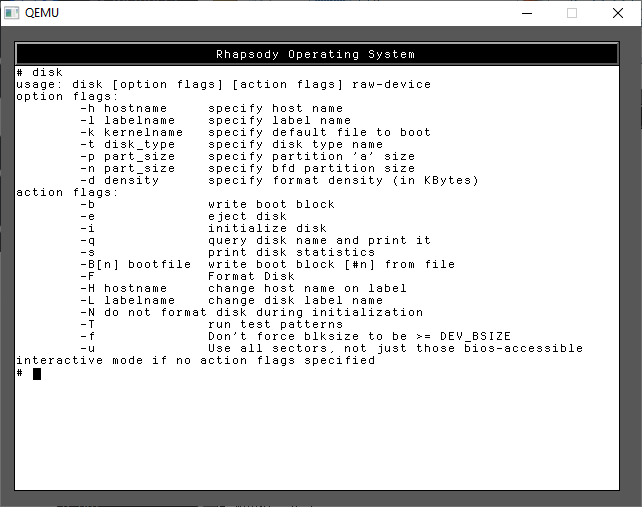
disk -i -l 'src' /dev/rhd1a
disk -i -l 'scratch' /dev/rhd2a
The output scrolls off the screen, so I didn’t capture it, but you’ll see all the inodes being created, it’s a lot of output!
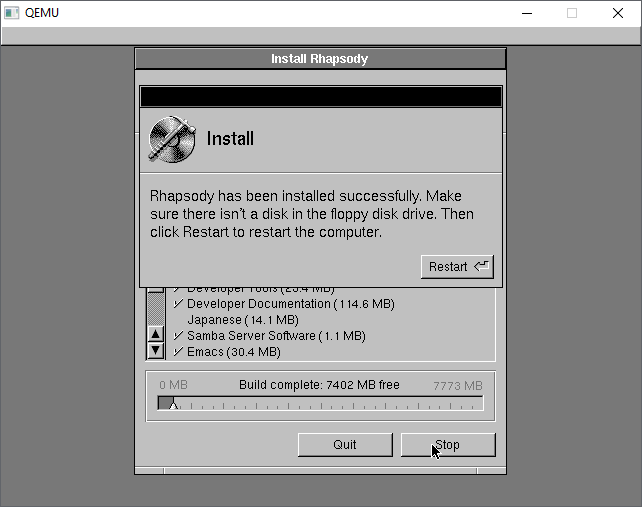
With the disks created, we can now shut down the VM
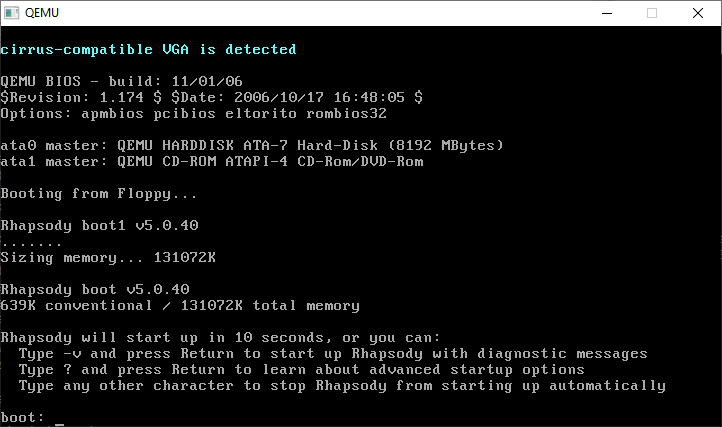
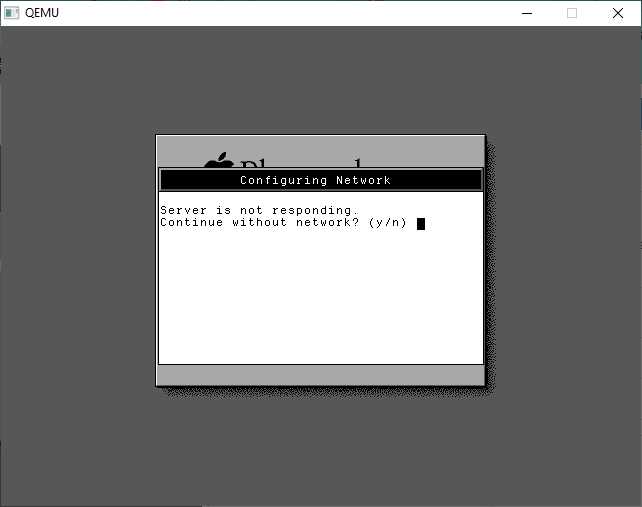
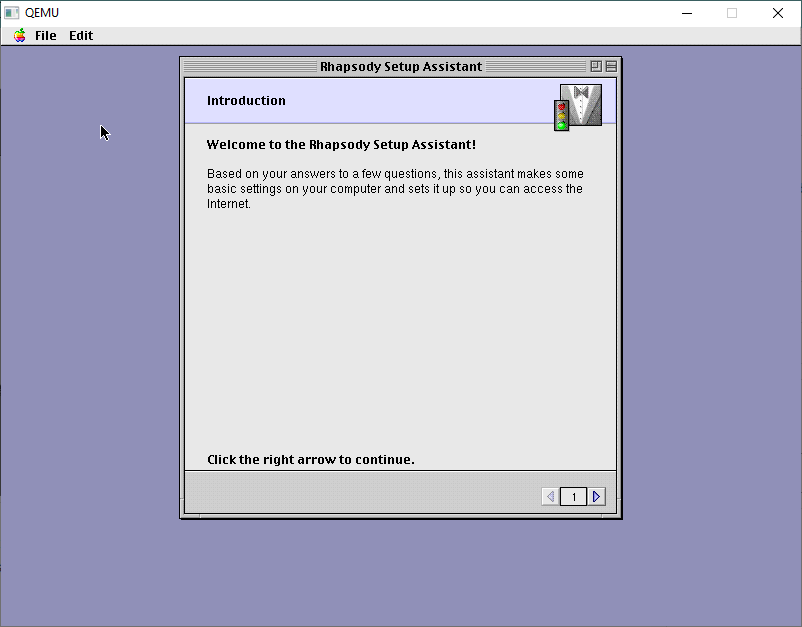
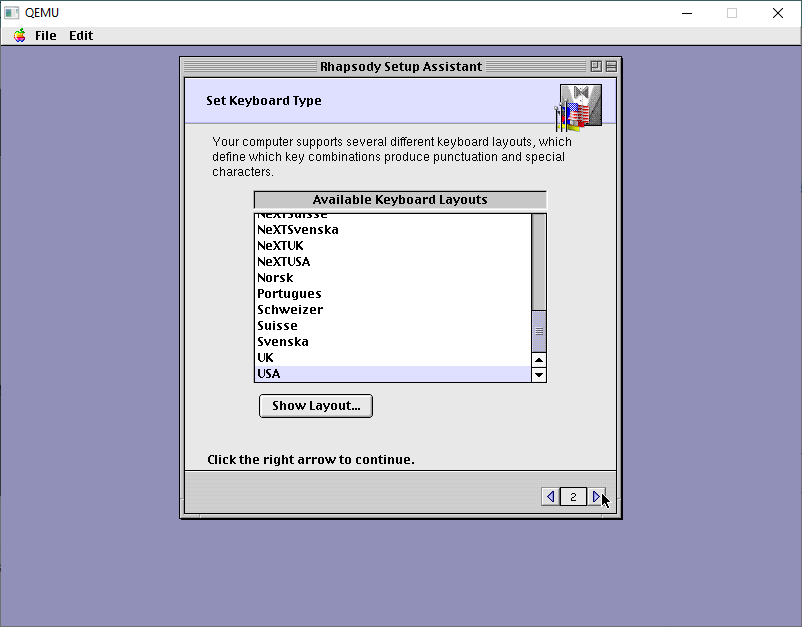
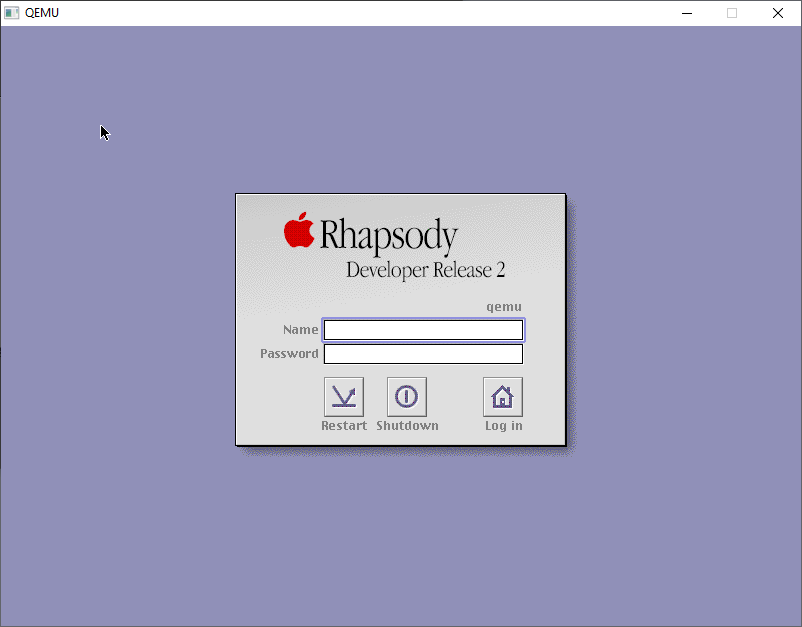
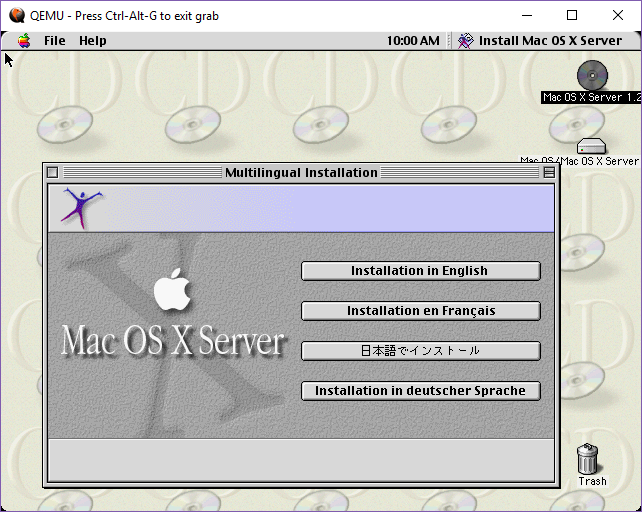
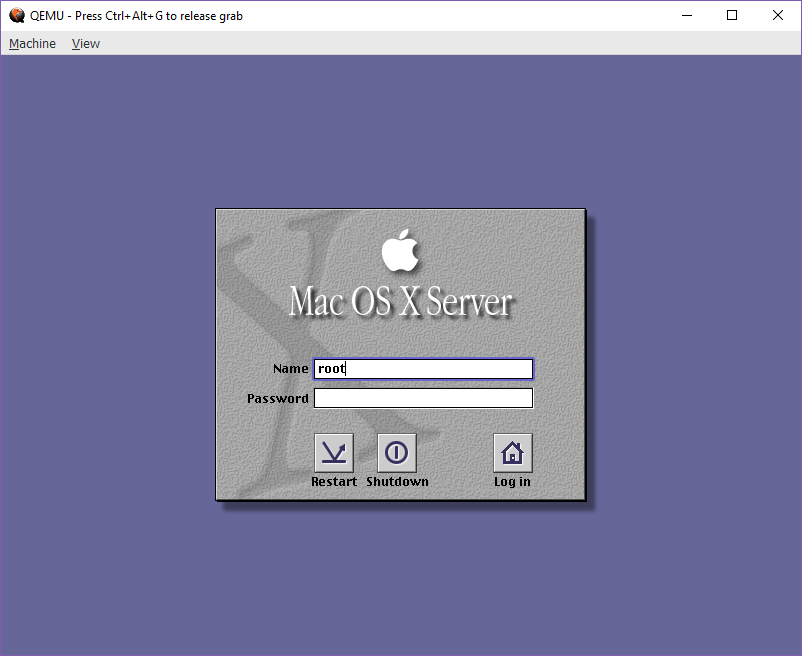
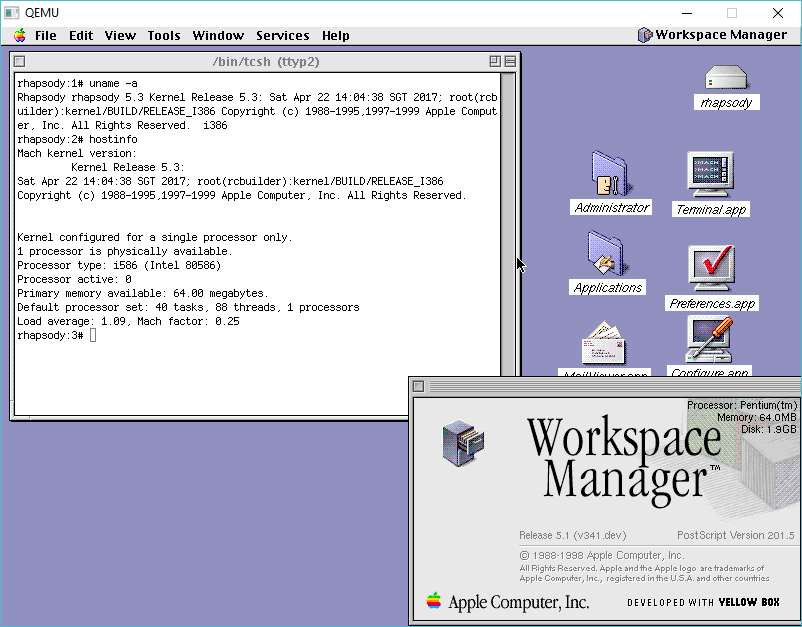
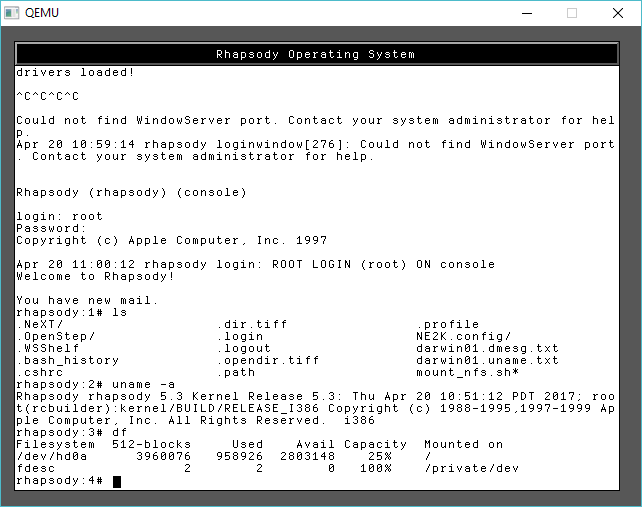
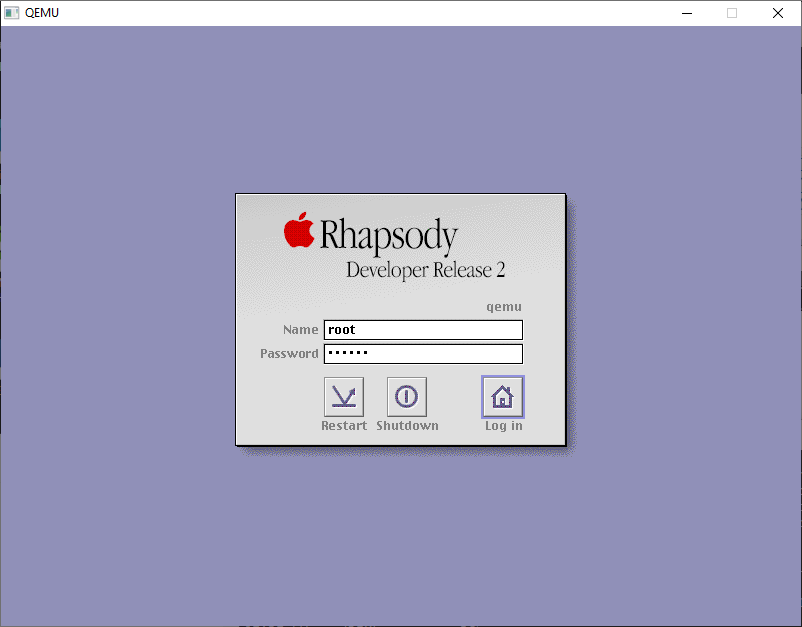
shutdown -h nowand then restart Qemu, and let it boot up normally. We’ll get to the login screen, login as the root user.
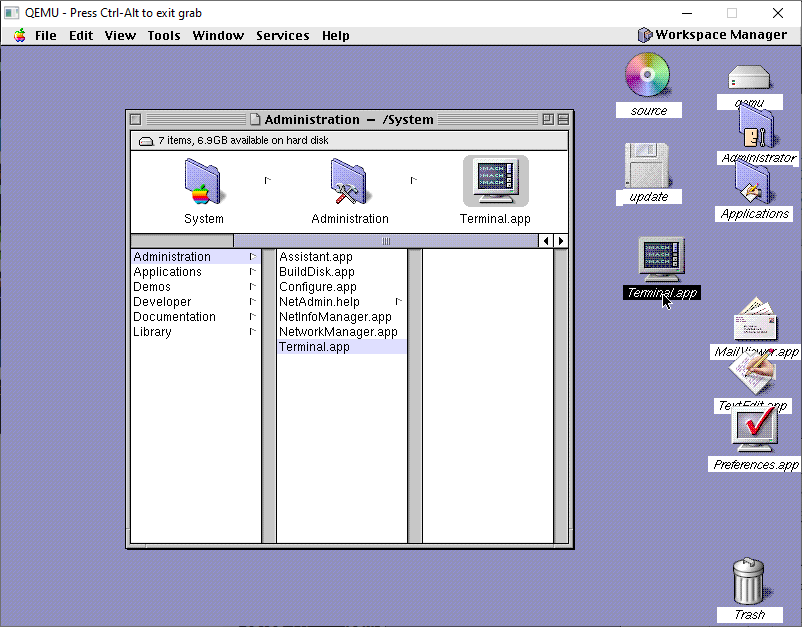
The first thing I’d recommend is to drag the Terminal.app from /System/Administration to the desktop to make it easier to get to. Rhapsody, unlike NeXTSTEP & OPENSTEP doesn’t have any dock, as the goal back then was to make Rhapsody look and feel more like Platinum MacOS.
The next thing to do is to make the system very insecure by allowing remote root logins. It’s just easier to deal with. You could use sed or just copy the one I provided from the CD-ROM.
cp /source/ttys /etc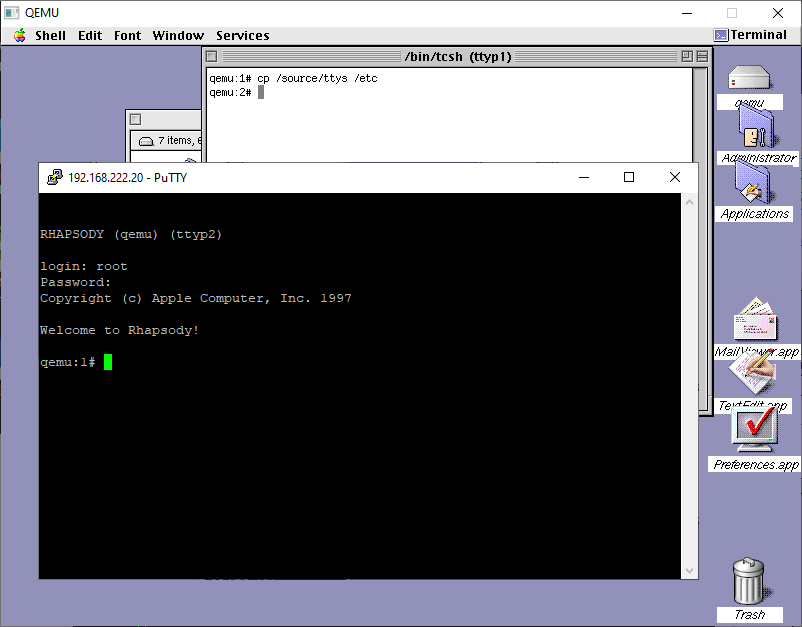
And with that in place, its easy enough to telnet into the VM so you can copy/paste stuff in and out with ease!
You should now be able to verify that all 3 disks are mounted:
# mount | grep hd.a
/dev/hd0a on / (local)
/dev/hd1a on /src (local)
/dev/hd2a on /scratch (local)
From here it should be very simple to kick off the build process:
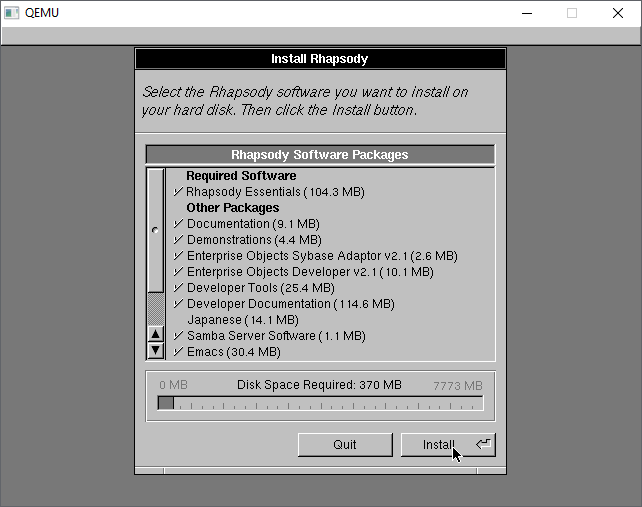
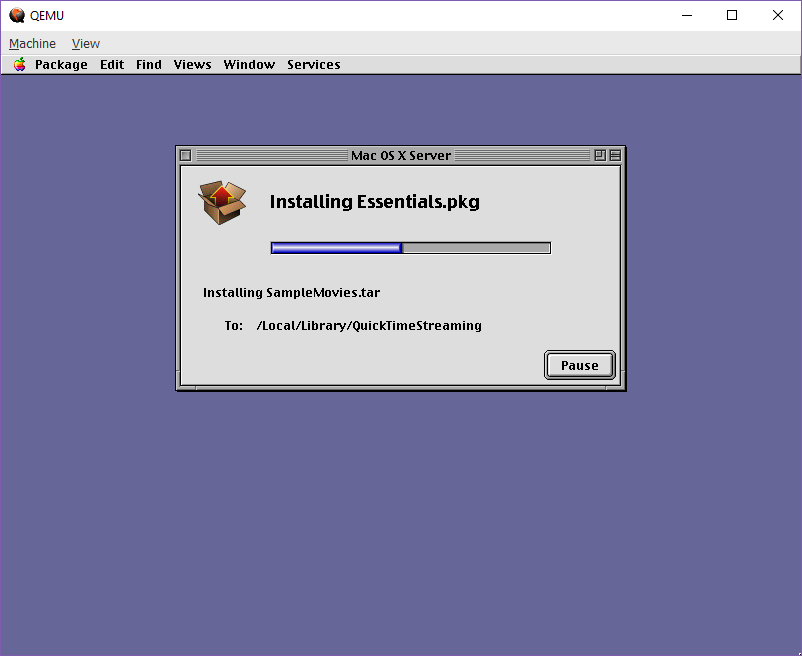
/source/phase1.shAnd this will kick off the build, recreating all the fun steps I’d gone through so many years ago. These projects now are building in the following order:
- kernel-1
- driverkit-139.1-1
- cc-798
- bootstrap_cmds-1
- objc-1
The first phase of the script will unpack both the kernel & driverkit and install their respective header files into the OS. NeXT a bunch of symlinks are created to link the system to the driverkit. Next I decided to build the ObjectiveC compiler from 10.0, hoping it’s more bugfixed and slightly more optimized than what was available back in 1999. Building the compiler is a little involved, as a good GCC tradition is to be cross compiled first, then re-compile itself with itself, then do that again and verify that the 3rd recompile outputs the same as the second one. Yes it’s a thing. Yes it’s slow. Yes you are lucky to live in the future, this was really painful back in the day.
With the kernel compiled, we can then compile the bootstrap commands, and the objectiveC runtime that is used by the kernel. Nothing too exciting here.
DriverKit however….
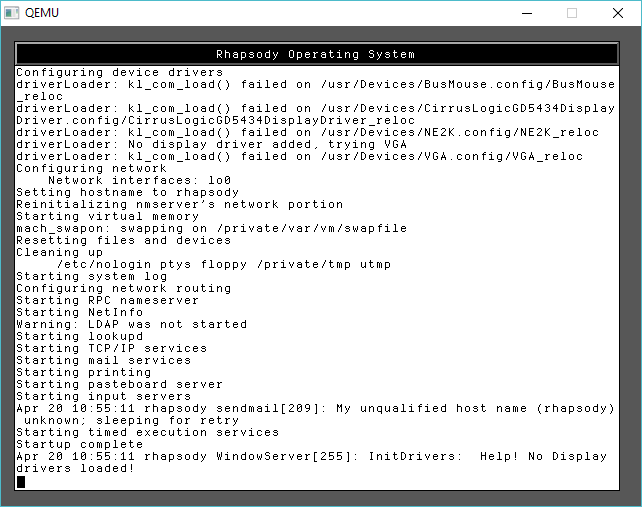
The PCMCIA code was not included in any of the 0.x Darwins, so for laptop enthusiasts you are basically SOL. As a matter of fact, a lot of weird stuff was pruned out, that either could be ‘touched’ or borrowed from the PowerPC port and massaged into place. Luckily I had at least figured out a simple fix for PCIKernBus.h so at least PCI works.
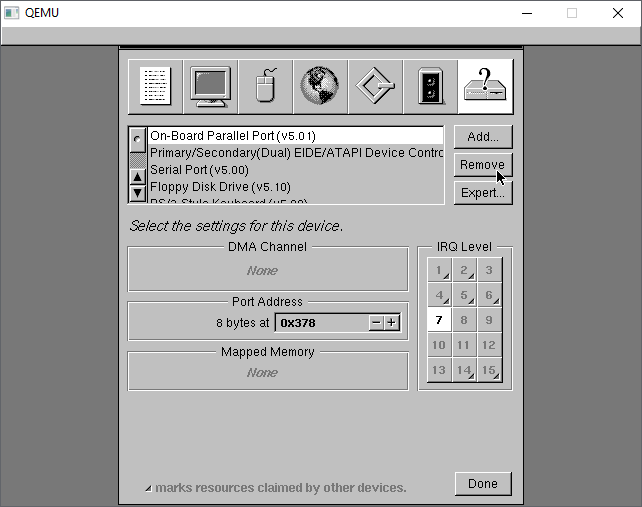
Likewise for the kernel, there was some guessing on the EISA config, which also overlaps ISA, along with having to remove the PCMCIA cardbus .. bus.
I had issues with the APM (Advanced Power Management), another laptopisim I suspect. I had to amputate that.
Naturally the cpuid code is broken much like early NT (I wonder if both were contributed by intel?), so it doesn’t detect any half way modern Pentium processors correctly which causes it to fall all the way back to the i386, which unfortunately, Rhapsody is compiled as 486 (remember NeXTSTEP had fat binaries allowing you to recompile for different processors and ship a single binary that can be ‘lipo’d into the appropriate one for the host). So being degraded to a 386 means nothing works.

yay.
Luckily patching the cpuid was pretty simple just force it always to be a Pentium. It is 1999 afterall.
I’ve done my best to make this a single script to run, and all being well you’ll get something that looks like errors, but it should be fine?!
System/Library/Frameworks/System.framework/Versions/B/Headers/bsd/i386/table.h
System/Library/Frameworks/System.framework/Versions/B/Headers/bsd/i386/types.h
System/Library/Frameworks/System.framework/Versions/B/Headers/bsd/i386/user.h
System/Library/Frameworks/System.framework/Versions/B/Headers/bsd/i386/vmparam.h
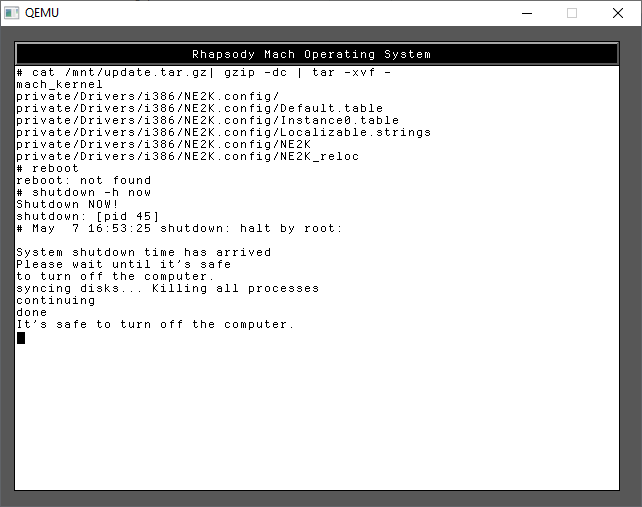
private/
private/dev/
private/dev/MAKEDEV
private/tftpboot/
private/tftpboot/mach_kernel
mach_kernel
tar: private/dev: Could not change access and modification times: Permission denied
tar: private/dev: Cannot change mode to 0755: Permission denied
tar: private/dev: Cannot chown to uid 0 gid 0: Permission denied
tar: Error exit delayed from previous errorsA quick look around shows that there is tgz files indicating that things have been compiled. I did backup the old original kernel as “rhapsody-gcc.tgz” in case you ever need it. Can’t imagine why but who knows?
qemu:13# ls -l /usr/src/*.tgz
-rw-r--r--  1 root  wheel   173706 Apr 23 15:25 /usr/src/bootstrap_cmds.bin.tgz
-rw-r--r--  1 root  wheel  2184460 Apr 23 15:33 /usr/src/cc-798-bin.tgz
-rw-r--r--  1 root  wheel  2747289 Apr 23 15:36 /usr/src/driverkit-kern-bin.tgz
-rw-r--r--  1 root  wheel  1264957 Apr 23 15:26 /usr/src/kernel-driverkit-hdrs.tgz
-rw-r--r--  1 root  wheel   116343 Apr 23 15:26 /usr/src/objc-bin.tgz
-rw-r--r--  1 root  wheel  2173005 Apr 23 15:26 /usr/src/rhapsody-gcc.tgz
qemu:14# ls -l /mach_kernel*
-r--r--r--  2 root  wheel  1459520 Apr 23 15:36 /mach_kernel
-r--r--r--  1 root  wheel  1404116 Apr 23 15:38 /mach_kernel-rhapsody
You should now be able to reboot into the kernel that you’d compiled!
Next up is Phase 2, where we compile the tools to enter the dark magic that is the Debian build system. Yes, you read that right, Apple/NeXT was all in on Debian.