WAMP server 2.1d

I haven’t checked the list to see what is going on, but WAMP server has gone through yet another permutation…

2.1d x86

2.1d x64

There is some noise on the forum, I think as some of us are rushing sourceforge, we aren’t getting fully formed downloads so there some corruption going on… and other issues…

Considering how popular WAMP is there is no way I could host it…..

Installing mediawiki on WAMP

Building on our WAMP installation, we are now going to install mediawiki.

The first thing I’d recommend to do is to move the contents of c:\wamp\www into another directory… I just shoved the terminal thing into c:\wamp\terminal .

Now mediawiki is the software that powers wikipedia. It’s a great collaboration platform, it has built in revision control, and best of all it’s free.

It’s also VERY simple to setup, well compared to other web content platforms.

The current version is 1.16, which can be downloaded here. As things change, you may be best served by just visiting the main download site.

Since most ‘AMP’ servers are Linux based, we’ll have to get gzip & tar to extract mediawiki. It’s very easy though.

Simply type this in to extract mediawiki

C:\temp>dir
Volume in drive C has no label.
Volume Serial Number is FC55-C2F4

Directory of C:\temp

12/28/2010 08:15 PM DIR .
12/28/2010 08:15 PM DIR ..
12/28/2010 08:13 PM 49,152 gzip.exe
112/28/2010 08:15 PM 12,647,934 mediawiki-1.16.0.tar.gz
12/28/2010 08:13 PM 114,688 tar.exe
3 File(s) 12,811,774 bytes
2 Dir(s) 7,073,234,944 bytes free

C:\temp>gzip -dc mediawiki-1.16.0.tar.gz| tar -xf –

C:\temp>

Ok, now with mediawiki extracted we just move the contents of c:\temp\mediawiki-1.16.0 into c:\wamp\www

Now before we go on, we are going to set a password for the MySQL process. In the off chance someone is following this on a server to deploy on the internet, it’d be crazy to leave it with no password.

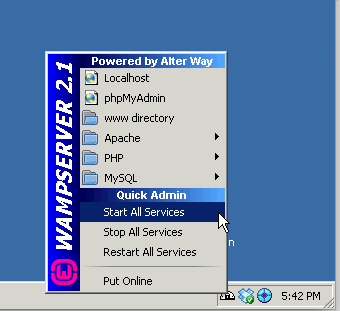
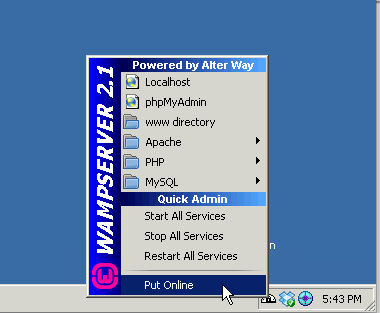
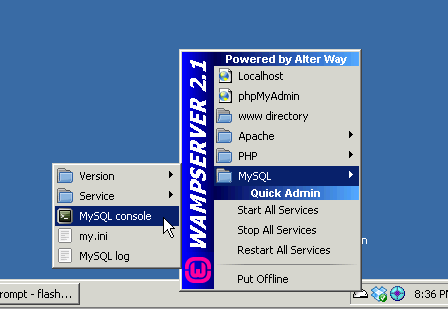
So left click on the WAMP system tray icon, go to MySQL, and bring up the MySQL Console.

media1

Just hit enter for the password as there isn’t one.

Next follow this SQL statement to set the password for the root user to password. Or select your own better password.

mysql> use mysql;
Database changed
mysql> update user set password=PASSWORD(“password”) where User=’root’;
Query OK, 3 rows affected (0.05 sec)
Rows matched: 3 Changed: 3 Warnings: 0

Now restart the mysql service, by clicking on the system tray icon, then mysql, service then ‘restart service’. If you don’t do this the password change will not take effect!

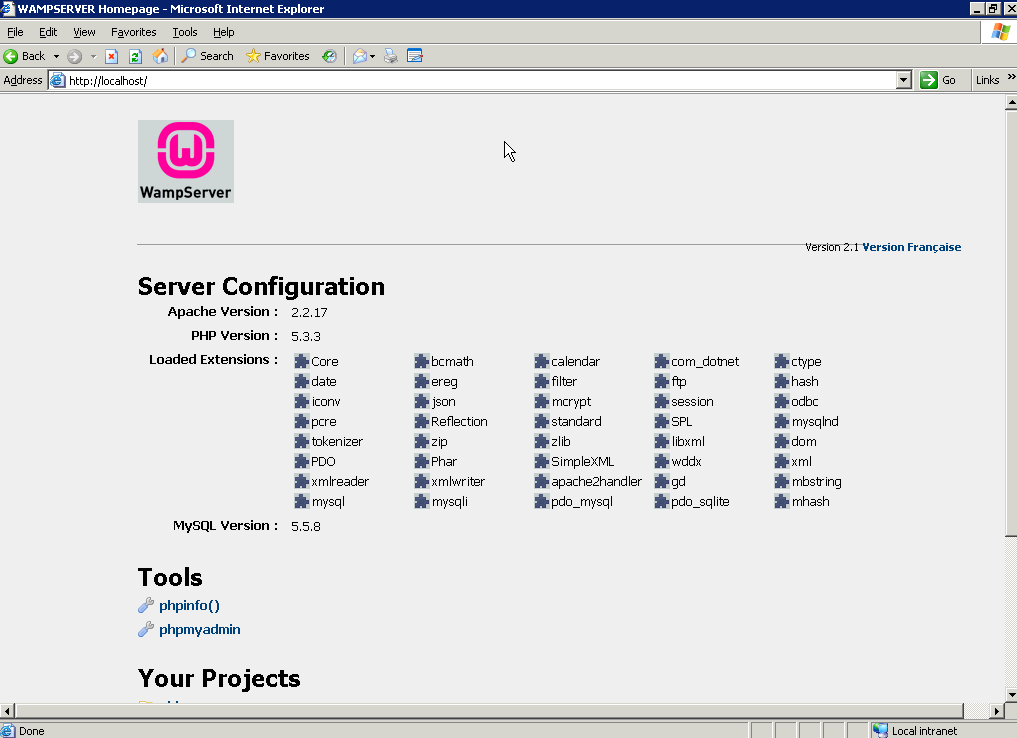
With that out of the way, it’s time to configure mediawiki. Simply open up a web browser to the following location:

http://localhost

And you should see something like this:

media2

Click the setup link, and let’s walk through the options…

First is the wikiname. I’m just going to call mine ‘test wiki’. Put in your own contact email, so that mediawiki will email YOU if anything is going on… I left the language in English, and left the license alone. The next important thing to do is to select a Admin username, and password. This is all up to you. Just remember that the Username is CaSe SeNsItIvE!!!

Leave the caching off.

The next section is for the email notifications, I just left those as default.

The final thing to configure is the database.

Since we are going to keep this simple, just set the DB username to root, and put in the password you configured earlier in the MySQL Console. Next check the ‘superuser account’ box, and specify root and the password again.

You can now click the Install MediaWiki button!

You’ll see some information printed on the page, and if everything goes according to plan, you’ll get the message:

Installation successful! Move the config/LocalSettings.php file to the parent directory, then follow this link to your wiki.

You should change file permissions for LocalSettings.php as required to prevent other users on the server reading passwords and altering configuration data

So simply copy the file c:\wamp\www\config\LocalSettings.php to c:\wamp\www\

then simply click the following link to be taken to your personal wiki:

http://localhost/index.php

media4

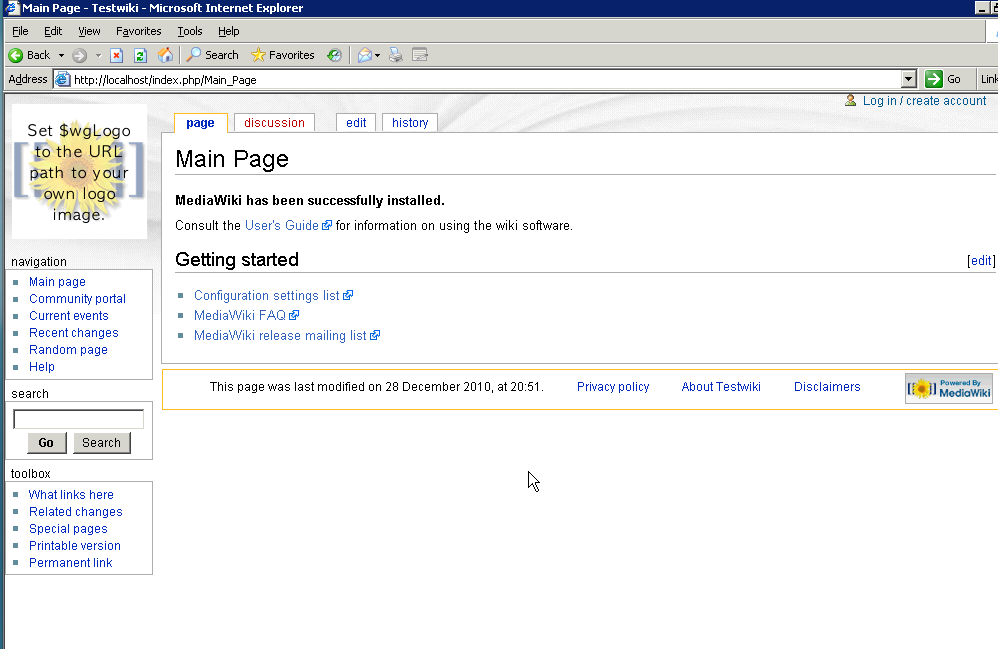
And that should take care of it!

installing flashterm on WAMP

Now with WAMP installed Let’s go on to flashterm.

Download the latest version of flashterm, which will include the flashsocket.php file.

Now the first thing I’d recommend is to extract the flashsocket.php file into it’s own directory, I’ve put mine in the d:\policyserver directory. Next I create a flashsocketpolicyserver.bat file in that directory that contains the following:

c:\wamp\bin\php\php5.3.3\php.exe -c php.ini flashsocket.php

Save it, and then we need to provide a php.ini for this server. Just copy the php.ini from c:\wamp\bin\php\php5.3.3\php.ini and copy it to your policyserver directory. You will need to edit the ini file to enable php sockets, so un comment this line:

extension=php_sockets.dll

Finally, we need to edit the flashsocket.php file.

alter the following at the top as needed:

$host = “192.168.X.X”; // CHANGE TO HOST IP
$port = 843;

I keep the port the same, as it makes the rest of this.. uncomplicated. I don’t think this binds well to 127.0.0.1 so use the primary IP address on the host that you want to use…

the next thing to look for is the string:

to-ports=\”23\”

This controls which port the flashterm will connect people on. You can also have multiple ports specified like this:

to-ports=\”42315,42323,42424,42525,42626,12323,42222,23333,42332\”

which would allow all of these ports to be accessible to Flashterm… This is the big advantage of the php server version, as it can have multiple ports.

For now though, I’m just going to use the default which will allow connections on the standard telnet port of 23.

Run your batchfile, and you should see something like this:

D:\policyserver>c:\wamp\bin\php\php5.3.3\php.exe -c php.ini flashsocket.php
[2010-12-28 18:03:40] Server started at 72.245.45.108:843

Now copy the following files into your c:\wamp\www directory, from the flashterm zip file:

expressInstall.swf
flashterm.swf
settings.xml
swfobject.js
index.html

Now we just need to edit the settings.xml to point to the correct location.

name=”386BSD 0.1pl24″
address=”72.245.45.108″
port=”23″
socket_server_port=”843″
info_graphic=””
default_font=””
columns=”80″
lines=”25″

In my example, I have a 386BSD 0.1 machine sitting on port 23

Then we load it up in a browser, hit the connect button, and there we go!!

flashterm

flashterm


And that’s it!

You can always play around with the info_graphic, by overlaying a picture, but I’ll leave that up to you.

WAMP server 2.1

Due to a request, I figured I’d document out the joys of installing WAMP, flashterm & the flash policy server, mediawiki in a multipart article. So to start, we’ll build the foundation which is the WAMP package which the other two will rely on.

So what is WAMP, well it’s Windows Apache Mysql & PHP. If you’ve ever heard of LAMP, this is the Windows version. And I’m happy to say that PHP applications seem to be pretty portable, allowing you to freely move data & applications to & from Linux/BSD/Solaris/Windows. Or that’s been my experience.

The first thing you’ll need to do is install the WAMP package. Luckily for us, the WampServer project has packaged the whole thing up into a nice windows installer. And the new version (2.1c) even includes x64 bulids!

So for the 32bit crowd you can download WAMP here.

And for the x64 64bit crowd, download WAMP here.

I’m currently using an aging HP machine as my server so I’m using Windows Server 2003 along with the 32bit version. WAMP works best when it’s just installed with the defaults.

The first thing I do is I install the SMTP service that comes with Windows. I leave IIS off as it’s kind of silly to have two web servers, unless you are doing it for some planned reason (say Virtual Server which needs IIS and uses port 1024). If you do have IIS make sure the ‘default’ website is turned off.

All that has to be done with the SMTP server is configure it to allow 127.0.0.1 to relay emails.. As it’s nice to get notifications that could be built in with whatever PHP application you go with.

SMTP1

Now run the installer, and I’ll try to walk through the steps.

wamp1

Hit next

wamp2

Accept the GPL License.

wamp3

Let it install in the default directory, it makes things easier.

wamp4

I like both set, you may not, but it’s easier to launch.

wamp5

Verify the install settings.

wamp6

Now WAMP will copy files and install.

wamp7

Then WAMP will want to know the default browser, honestly IE is just fine.

wamp8

Next WAMP will want to know what SMTP server to use… This is kind of important, and why I installed the default MS SMTP server as a lot of things that do registration, or email alerts, well work better with an email server…

wamp9

With the install completed let it launch WAMP.

wamp10

Once the WAMP server is installed it’ll be stopped and offline.

wamp11

Left click on the WAMP tray tool, and have it start all the services.

wamp12

Then left click again on the WAMP tray tool, and now you can start it up and take it online…

wamp13

If everything has gone right your WAMP tray tool will look like this!

Now open up a web browser, and go to http://localhost/

If everything has gone right, you should see this:

wamp14

Congratulations! You’ve successfully installed the WAMP server!